Zeroing is recommended to be done at the temperature close to the riflescope operating temperature.

Step 1. Make a shot
- Mount the rifle with the riflescope installed on a bench rest.
- Set a target at a certain distance.
- Adjust the riflescope according to the Powering On and Image Setting section.
- Select the zeroing profile (see Zeroing Profile

 main menu item)
- Point a rifle at the center of the target and shoot.
Step 2. Align the reticle with the impact point
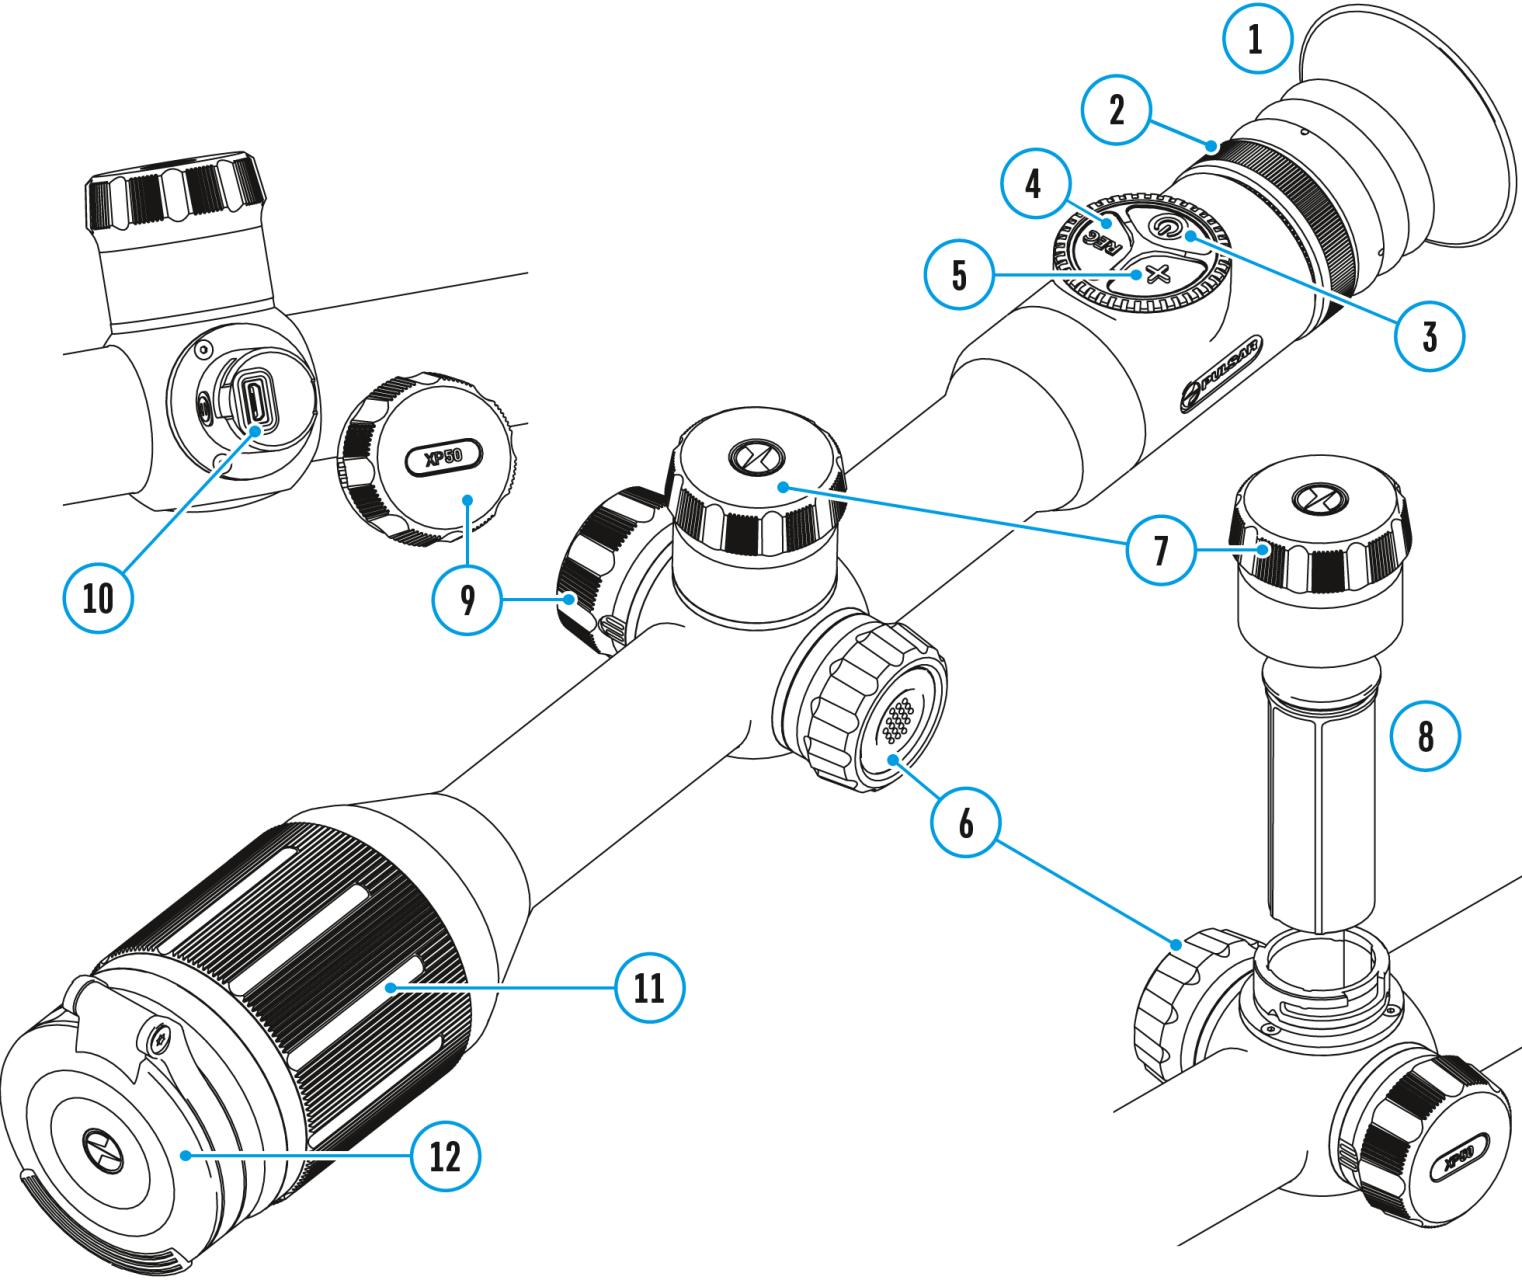
- If the impact point does not match the aiming point (center of the riflescope’s reticle), press and hold down the controller button (6) to enter the main menu.
- Rotate the controller ring (6) to select the Zeroing

 submenu . To confirm the selection, briefly press the controller button (6).
- Set the zeroing distance value (see Zeroing menu item => Add New Distance
 submenu).
- Confirm the selected zeroing distance value by long pressing the controller button (6).
- The Zeroing Parameters Settings
 additional menu will appear on the screen.
- Cross hairs appear in the center of the display
 . X and Y coordinates of the cross hairs are in the upper right corner.
- Rotate the controller ring (6) to select the icon

 .
.
- Press the controller button (6) briefly.
- Holding the reticle in the aiming point, move the cross hairs by rotating the controller ring (6) until the cross hairs match the point of impact. To switch the direction, briefly press the controller button (6).
Zoom Zeroing function:
To improve the accuracy of zeroing, you can change the magnification in the menu  . The larger the magnification, the smaller the step of shifting the reticle on the display relative to the image from the sensor.
Freeze zeroing:
Not to hold the reticle at the aiming point, you can use the Freeze function – freezing the zeroing screen (refer to Zeroing menu item => Distance submenu => Zeroing Parameters Settings submenu => Freeze  submenu
 or short pressing of the ON/OFF (3) button).
Step 3. Save the coordinates
- To save the new reticle position, press and hold the controller button (6). The reticle is aligned with the point of impact and the submenu exits.
- Press and hold the controller button (6) again to exit the zeroing settings menu - the message “Zeroing coordinates saved” appears, confirming the successful operation.
- Fire a second shot - now the point of impact and the aiming point must be matched.
Notes:
- After zeroing, the reticle may not be in the center of the display.
- The range of movement of the riflescope reticle allows you to successfully zero the riflescope, even on mounts that are far from ideal, minimizing the possible disadvantages of the mounts. The better the mount is installed, the less you have to move the reticle. We recommend mounting the riflescope as low as possible.
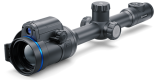
 Thermion 2 LRF XL50
Thermal Imaging Riflescope
Thermion 2 LRF XL50
Thermal Imaging Riflescope
 Thermion 2 LRF
Thermal Imaging Riflescopes
Thermion 2 LRF
Thermal Imaging Riflescopes
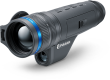
 Talion
Thermal Imaging Riflescopes
Talion
Thermal Imaging Riflescopes
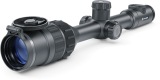
 Thermion 2
Thermal Imaging Riflescopes
Thermion 2
Thermal Imaging Riflescopes
 Merger LRF XL50
Thermal Imaging Binoculars
Merger LRF XL50
Thermal Imaging Binoculars
 Merger LRF XP50
Thermal Imaging Binoculars
New
Merger LRF XP50
Thermal Imaging Binoculars
New Merger LRF XP35
Thermal Imaging Binoculars
Merger LRF XP35
Thermal Imaging Binoculars
 Merger LRF XQ35
Thermal Imaging Binoculars
New
Merger LRF XQ35
Thermal Imaging Binoculars
New Telos
Thermal Imaging Monoculars
Telos
Thermal Imaging Monoculars
 Axion 2 LRF
Thermal Imaging Monoculars
Axion 2 LRF
Thermal Imaging Monoculars
 Axion 2
Thermal Imaging Monoculars
New
Axion 2
Thermal Imaging Monoculars
New Axion XQ30 PRO
Thermal Imaging Monoculars
Axion XQ30 PRO
Thermal Imaging Monoculars
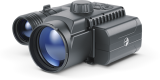
 Krypton 2
Thermal Imaging Monocular
Krypton 2
Thermal Imaging Monocular
 Axion XM30F
Thermal Imaging Monoculars
Axion XM30F
Thermal Imaging Monoculars
 Pulsar Digex-XS
External Infrared Illuminators
Pulsar Digex-XS
External Infrared Illuminators
 APS Batteries
Battery Packs
APS Batteries
Battery Packs
 APS Chargers
Battery Chargers
APS Chargers
Battery Chargers
 IPS Batteries
Battery Packs
IPS Batteries
Battery Packs
 IPS Battery Charger
Battery Charger
IPS Battery Charger
Battery Charger
 Rifle Mounts
for Pulsar Riflescopes
Rifle Mounts
for Pulsar Riflescopes
 H7 Spacers
Repair Kits
New
H7 Spacers
Repair Kits
New PSP-V Weaver Rail Adapter
Adapter
PSP-V Weaver Rail Adapter
Adapter
 PSP Ring Adapters
Adapters
New
PSP Ring Adapters
Adapters
New PSP-B Ring Adapters
Ring Adapters
PSP-B Ring Adapters
Ring Adapters
 FN Adapters
Cover Ring Adapters
FN Adapters
Cover Ring Adapters
 Remote Controls
for digital devices and thermal imagers
Remote Controls
for digital devices and thermal imagers
 C-Clamp Mount
Pulsar Accessories
C-Clamp Mount
Pulsar Accessories
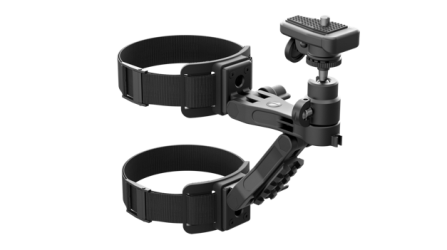 Tree mount
Pulsar Accessories
Tree mount
Pulsar Accessories
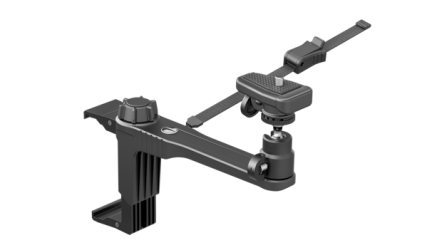 Window Frame Mount
Pulsar Accessories
Window Frame Mount
Pulsar Accessories
 Helion Flip-Up Phone Mount
Pulsar Accessories
Helion Flip-Up Phone Mount
Pulsar Accessories
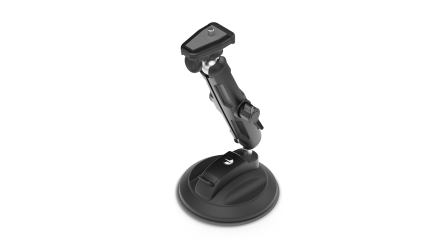 Flat Glass Mount
Pulsar Accessories
Flat Glass Mount
Pulsar Accessories
 Neck Straps
Accessories
New
Neck Straps
Accessories
New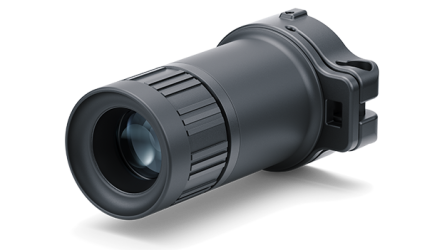 Monocular Pulsar 3x20 B
Accessories
Monocular Pulsar 3x20 B
Accessories
 Thermal Zeroing Targets
Accessories
Thermal Zeroing Targets
Accessories
 Telos LRF Tripod Adapter
Pulsar Accessories
Telos LRF Tripod Adapter
Pulsar Accessories


 English
 German
 French
 Spanish
 Italiano
 English
 Lietuvių