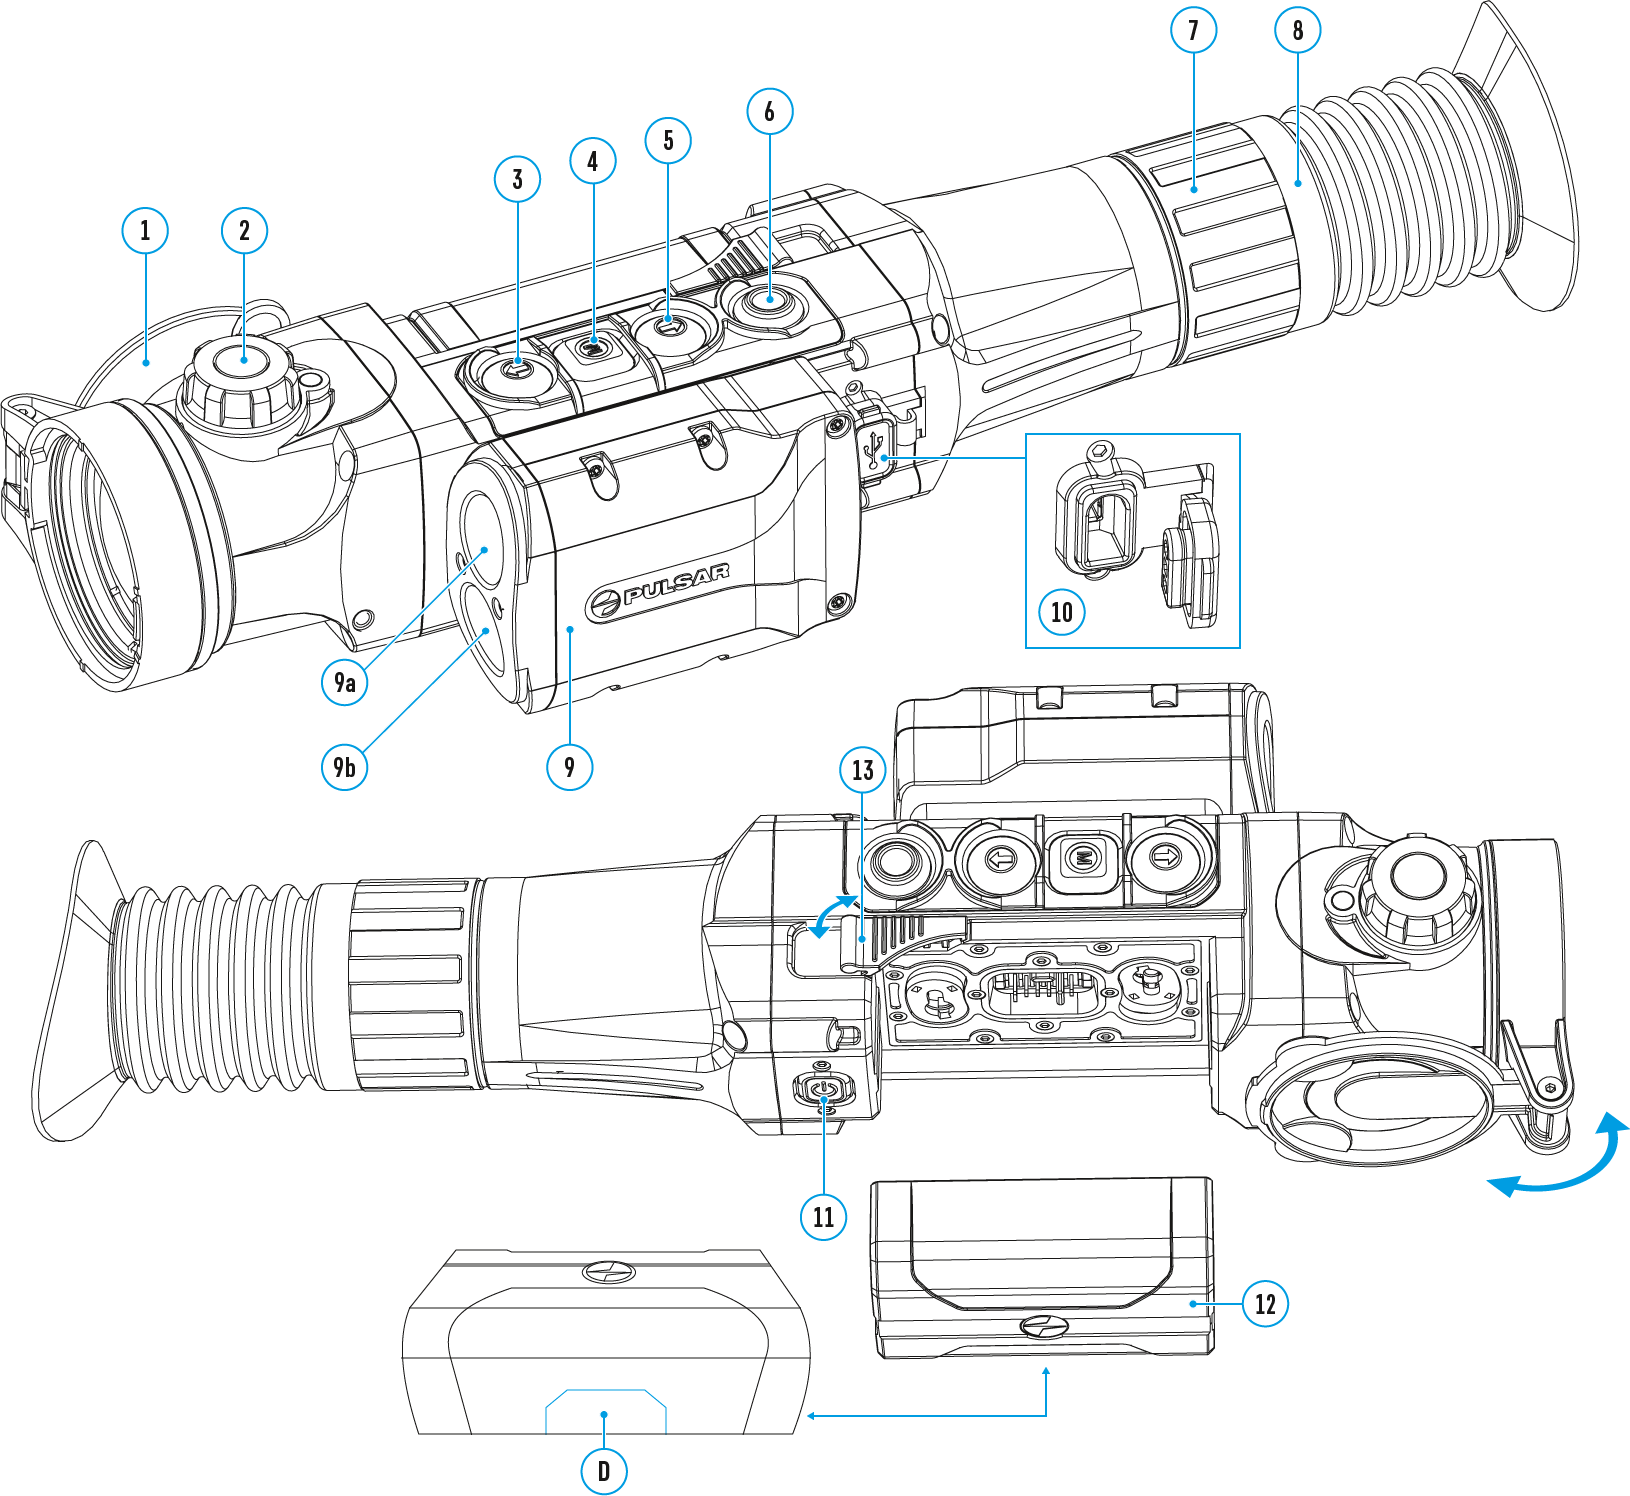
- Press and hold down the М (4) button to enter the main menu.
- Select option General Settings
 with the UP (3)/DOWN (5) buttons.
- Press briefly the М (4) button to confirm.
The following settings are available:
Language
Interface language selection.
- Select option Language
 with the UP (3)/DOWN (5) buttons.
- Press briefly the М (4) button to confirm.
- Select one of the available interface languages with a short press of the UP (3)/DOWN (5) buttons: English, German, Spanish, French, Russian, Italian, Portuguese, Dutch, Danish, Norwegian, Swedish, Polish, Czech, Hungarian.
- Save selection and exit the submenu with a long press of the M (4) button.
Date
Date setup.
- Select option Date
 with UP (3)/DOWN (5).
- Press briefly the М (4) button to confirm. Date format is displayed as: YYYY/MM/DD (year/month/day)
- Select the correct values for the year, month and date with a short press of the UP (3)/DOWN (5) buttons.
- Switch between digits with a short press of the М (4) button.
- Save selected date and exit the submenu with a long press of the М (4) button.
Time
Time setup.
- Select option Time
 with UP (3)/DOWN (5) buttons.
- Press briefly the М (4) button to confirm.
- Select the desired time format with a short press of the UP (3)/DOWN (5) buttons: 24 or PM/AM.
- Switch to hour setup with a brief press of the М (4) button.
- Select hour value with a brief press of the UP (3)/DOWN (5) buttons.
- Switch to minute setup with a brief press of the М (4) button.
- Select minute value with a brief press of the UP (3)/DOWN (5) buttons.
- Save selected time and exit the submenu with a long press of the М (4) button.
Units of Measure
Selection of units of measure.
- Select option Units of Measure
 with UP (3)/DOWN (5) buttons.
- Press briefly the М (4) button to confirm.
- Select the desired unit of measurement - meters or yards - with UP (3)/DOWN (5) buttons.
- Press briefly the М (4) button to confirm.
- Exit to general settings submenu takes place automatically.
Default Settings
Restore default settings.
- Select option Default Settings
 with UP (3)/DOWN (5) buttons.
- Press briefly the М (4) button to confirm.
- With a short press of the UP (3)/DOWN (5) buttons select "Yes" to restore default settings or "No" to abort.
- Confirm selection with a brief press of the М (4) button.
- If "Yes" is selected, display will show "Do you want to restore default settings?" and "Yes" and "No" options. Select "Yes" to restore default settings.
- If "No" is selected, action is aborted and you return to the submenu.
The following settings will be returned to their defaults:
- Image boost - on
- Rangefinder’s reticle –

- Reticle selection – M56Fi*
- Side incline – on
- Wi-Fi – off (default password)
- PiP – off
- Digital zoom – initial optical zoom
- Language – English
- Calibration mode – automatic
- Microphone – off
- Zeroing profile – А
- Operating mode of video recorder – video
- “THD” – on
- Reticle color – black/red*
- Auto shutdown – off
- Reticle brightness – 10*
- Observation mode – “Forest”
- “TPA” – on
- Color palette – White Hot
- Units of measurement – meters
* These values are set for all zeroing profiles (A, B, C, D and E).
Warning: date and time settings, default pixel map and all zeroed distances are saved.
Format
This menu option allows you to format the device's memory card. All files will be deleted.
- Select option Format
 with UP (3)/DOWN (5) buttons.
- Press briefly the М (4) button to confirm.
- With a short press of the UP (3)/DOWN (5) buttons select "Yes" to format the memory card or "No" to return to the submenu.
- Confirm selection with a short press of the М (4) button.
- If "Yes" is selected, display will show "Do you want to format memory card?" and "Yes" and "No" options. Select "Yes" to format the memory card.
- If "No" is selected, formatting is aborted and you return to the submenu.
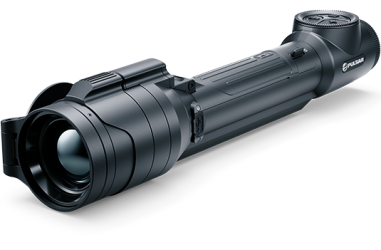
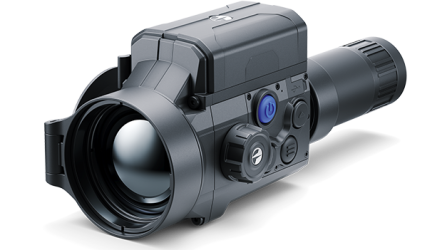
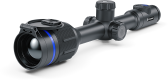
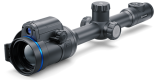
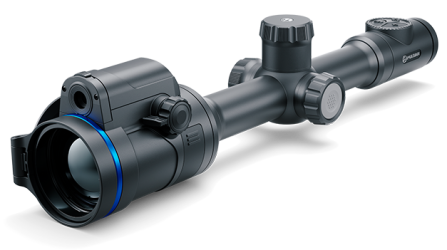
 Thermion 2 LRF XL50
Thermal Imaging Riflescope
Thermion 2 LRF XL50
Thermal Imaging Riflescope
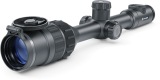
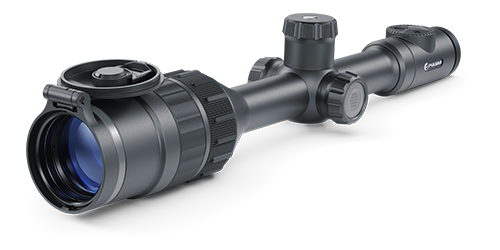
 Thermion 2 LRF
Thermal Imaging Riflescopes
Thermion 2 LRF
Thermal Imaging Riflescopes
 Talion
Thermal Imaging Riflescopes
Talion
Thermal Imaging Riflescopes
 Thermion 2
Thermal Imaging Riflescopes
Thermion 2
Thermal Imaging Riflescopes
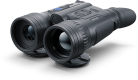
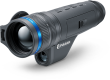
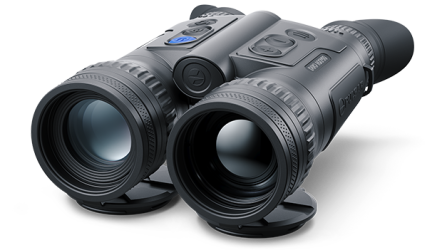
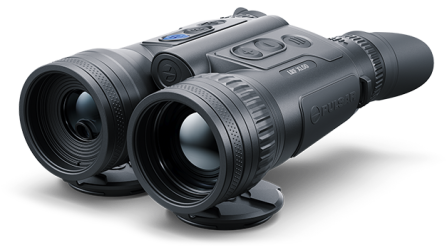 Merger LRF XL50
Thermal Imaging Binoculars
Merger LRF XL50
Thermal Imaging Binoculars
 Merger LRF XP50
Thermal Imaging Binoculars
New
Merger LRF XP50
Thermal Imaging Binoculars
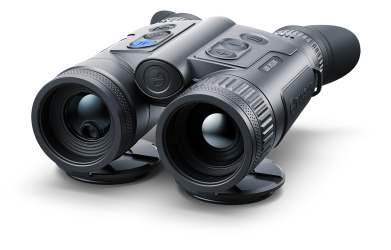
New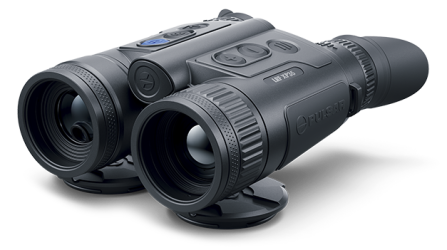 Merger LRF XP35
Thermal Imaging Binoculars
Merger LRF XP35
Thermal Imaging Binoculars
 Merger LRF XQ35
Thermal Imaging Binoculars
New
Merger LRF XQ35
Thermal Imaging Binoculars
New Telos
Thermal Imaging Monoculars
Telos
Thermal Imaging Monoculars
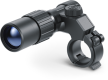
 Axion 2 LRF
Thermal Imaging Monoculars
Axion 2 LRF
Thermal Imaging Monoculars
 Axion 2
Thermal Imaging Monoculars
New
Axion 2
Thermal Imaging Monoculars
New Axion XQ30 PRO
Thermal Imaging Monoculars
Axion XQ30 PRO
Thermal Imaging Monoculars
 Krypton 2
Thermal Imaging Monocular
Krypton 2
Thermal Imaging Monocular
 Axion XM30F
Thermal Imaging Monoculars
Axion XM30F
Thermal Imaging Monoculars
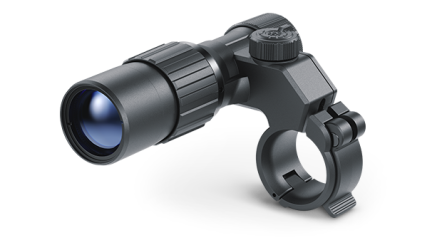 Pulsar Digex-XS
External Infrared Illuminators
Pulsar Digex-XS
External Infrared Illuminators
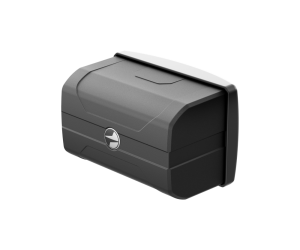
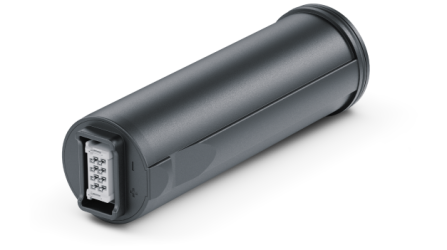 APS Batteries
Battery Packs
APS Batteries
Battery Packs
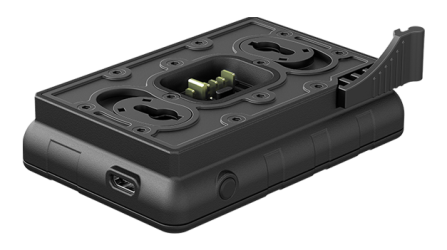
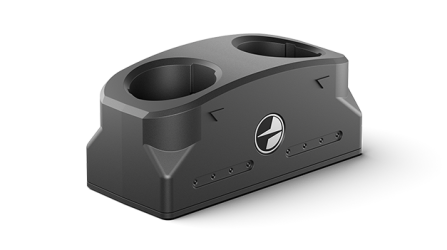 APS Chargers
Battery Chargers
APS Chargers
Battery Chargers
 IPS Batteries
Battery Packs
IPS Batteries
Battery Packs
 IPS Battery Charger
Battery Charger
IPS Battery Charger
Battery Charger
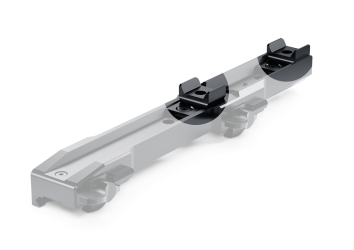
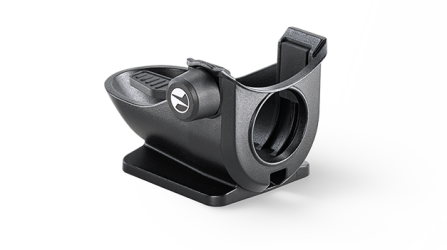
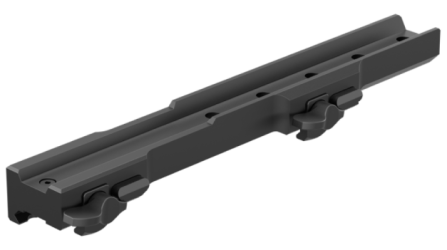 Rifle Mounts
for Pulsar Riflescopes
Rifle Mounts
for Pulsar Riflescopes
 H7 Spacers
Repair Kits
New
H7 Spacers
Repair Kits
New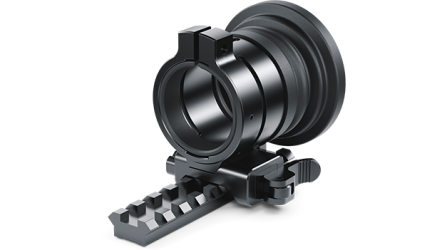 PSP-V Weaver Rail Adapter
Adapter
PSP-V Weaver Rail Adapter
Adapter
 PSP Ring Adapters
Adapters
New
PSP Ring Adapters
Adapters
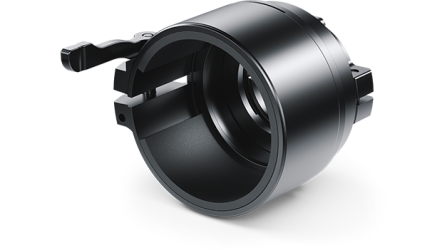
New PSP-B Ring Adapters
Ring Adapters
PSP-B Ring Adapters
Ring Adapters
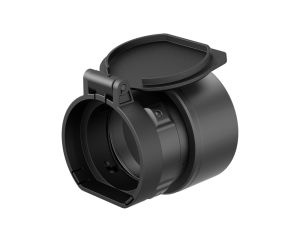 FN Adapters
Cover Ring Adapters
FN Adapters
Cover Ring Adapters
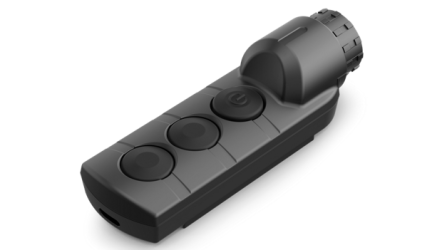 Remote Controls
for digital devices and thermal imagers
Remote Controls
for digital devices and thermal imagers
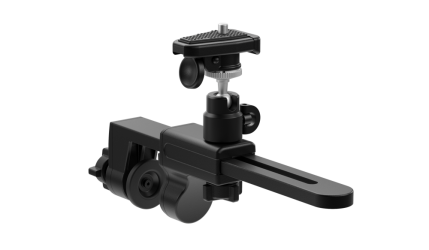 C-Clamp Mount
Pulsar Accessories
C-Clamp Mount
Pulsar Accessories
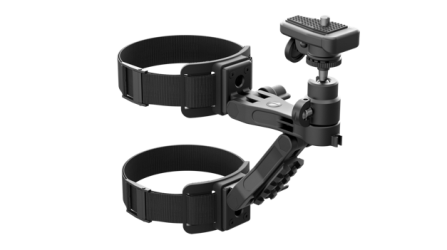 Tree mount
Pulsar Accessories
Tree mount
Pulsar Accessories
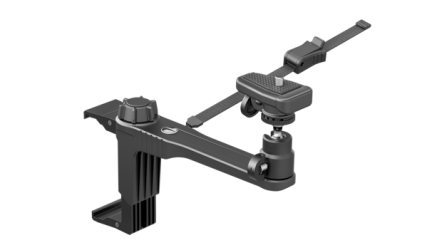 Window Frame Mount
Pulsar Accessories
Window Frame Mount
Pulsar Accessories
 Helion Flip-Up Phone Mount
Pulsar Accessories
Helion Flip-Up Phone Mount
Pulsar Accessories
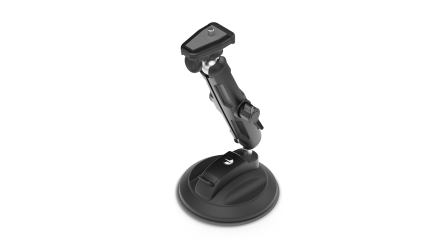 Flat Glass Mount
Pulsar Accessories
Flat Glass Mount
Pulsar Accessories
 Neck Straps
Accessories
New
Neck Straps
Accessories
New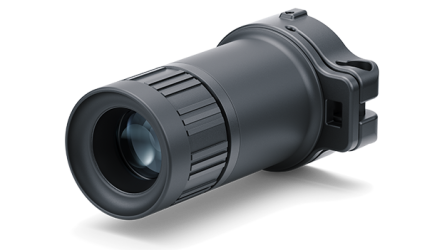 Monocular Pulsar 3x20 B
Accessories
Monocular Pulsar 3x20 B
Accessories
 Thermal Zeroing Targets
Accessories
Thermal Zeroing Targets
Accessories
 Telos LRF Tripod Adapter
Pulsar Accessories
Telos LRF Tripod Adapter
Pulsar Accessories


 English
 German
 French
 Spanish
 Italiano
 English
 Lietuvių