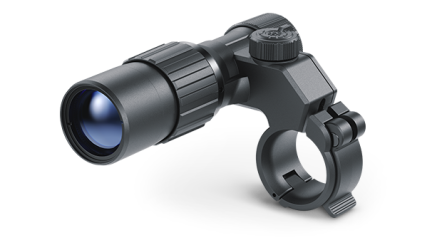
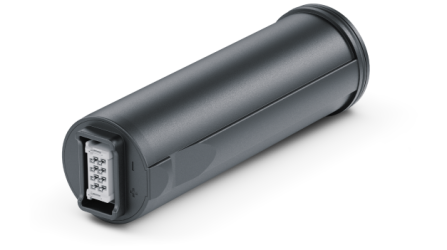
The device is supplied with a rechargeable IPS7 Lithium-ion Battery Pack which allows the attachment to be used for up to 11 hours. Charge the battery before first use.
The icon  in the status bar will flash when the battery is low. The battery needs to be charged.
Option 1
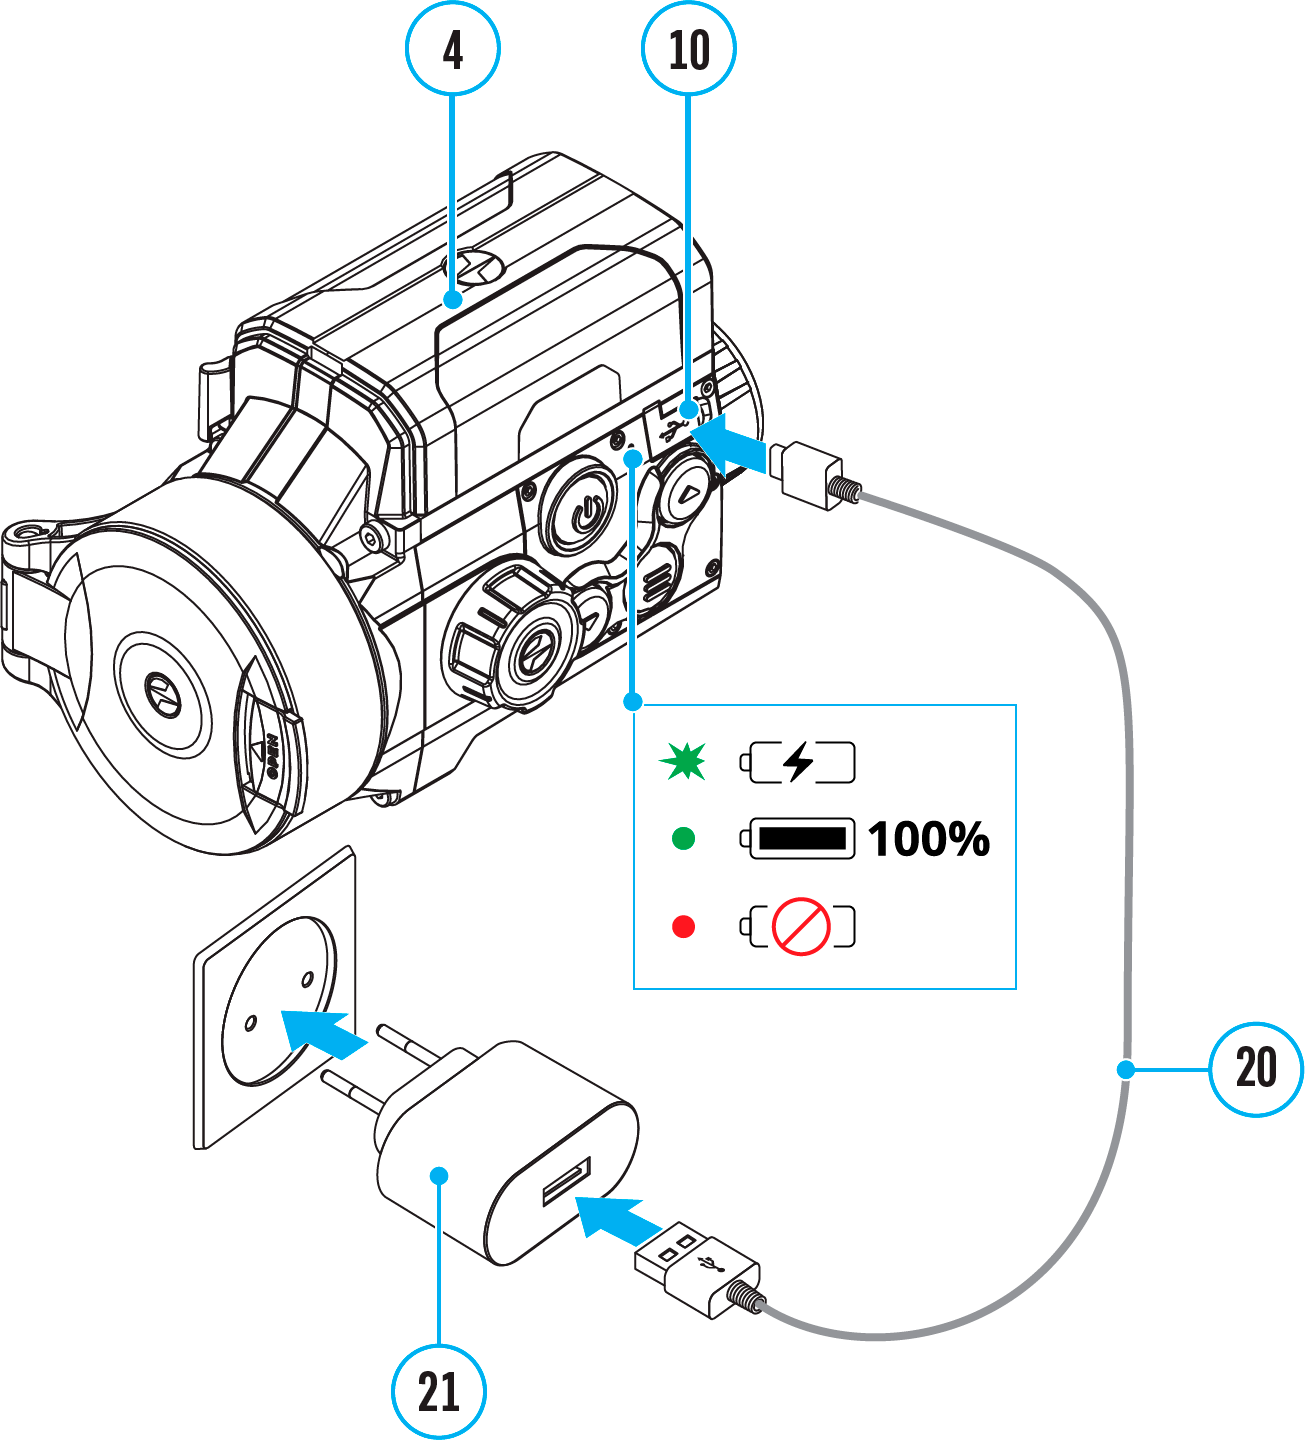
- Install the IPS7 battery (4) in the battery compartment of the device.
- Connect the USB Type-C cable (20) to the USB Type-C connector (10) of the device.
- Connect the other end of the USB cable (20) to the Power Adapter (21) by removing the USB Type-A adapter.
- Plug the Power Adapter (21) into a 100-240 V socket.
- Wait until the battery is fully charged (indication in the status bar:

 ).
).
If the device is off, the LED indicator will display the battery charge status:
|
LED indication
|
Battery status
|
 |
Battery is charging
|
 |
Battery is charged
|
 |
Defective battery. Do not use the battery!
|
|
-
|
The device is switched on
|
Option 2

Charging
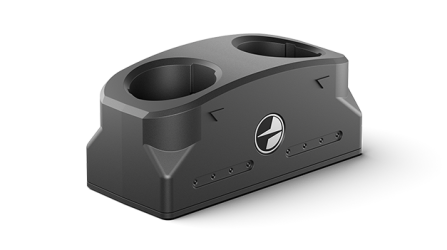
Step 1. Install the battery into the charger
- Move the lever (3) to the open position
 .
.
- Install the Battery Pack (4) into the charger.
- Lock the battery (4) by moving the lever to the closed position
 .
.
Step 2. Сheck the current battery level
- Upon installation, a green LED indicator on the charger will start to glow and begin flashing:
- once if the battery charge ranges from 0% to 50%.
- twice if the battery charge ranges from 51% to 75%.
- three times if the battery charge ranges from 76% to 99%.
- When the indicator is continuously green, the battery is fully charged. Disconnect the charger from the mains and disconnect the battery from the charger.
- If the battery charger indicator is constantly red when the battery is inserted, the charge level is probably below the permissible level (the battery has been in a discharged state for a long period of time). Leave the battery in the charger for a long period of time (up to several hours), then remove and reinsert.
- If the indicator begins to flash green, the battery is good.
- If it continues to show red, the battery is defective. Do not use this battery!
The LED indicator will display the battery charge status:
|
LED Indicator
|
Battery Charge Status
|
 |
Battery is empty
|
|
Battery charge level is from 0% to 50%
|
|
Battery charge level is from 51% to 75%
|
|
Battery charge level is from 76% to 99%
|
 |
Battery is full
|
Step 3. Сonnect the charger to the mains supply
- Connect the plug of the USB Type-C cable (20) with the attached MicroUSB adapter (22) to the USB socket (19) of the charger.
- Connect the other end of the USB cable (20) to the power adapter (21).
- Plug the power adapter (21) into a 100-240V socket.
- When the indicator is continuously green, the battery is fully charged. Disconnect the charger from the mains.
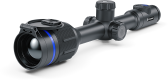
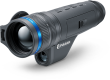
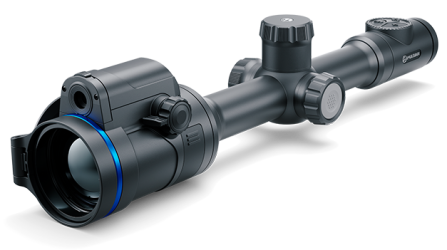
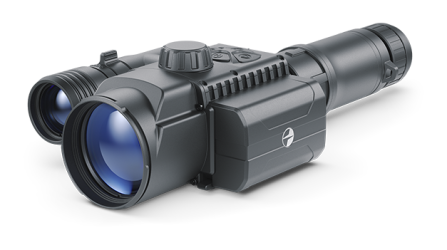
 Thermion 2 LRF XL50
Thermal Imaging Riflescope
Thermion 2 LRF XL50
Thermal Imaging Riflescope
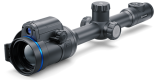
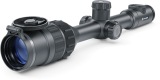
 Thermion 2 LRF
Thermal Imaging Riflescopes
Thermion 2 LRF
Thermal Imaging Riflescopes
 Talion
Thermal Imaging Riflescopes
Talion
Thermal Imaging Riflescopes
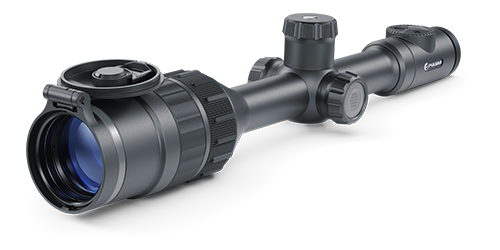
 Thermion 2
Thermal Imaging Riflescopes
Thermion 2
Thermal Imaging Riflescopes
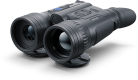
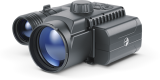
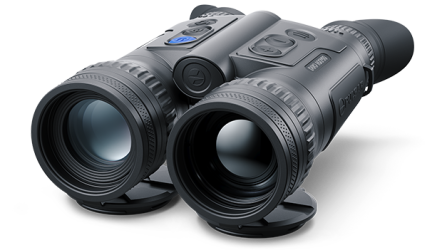
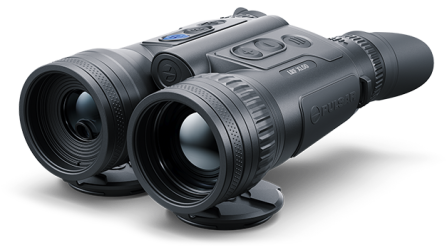 Merger LRF XL50
Thermal Imaging Binoculars
Merger LRF XL50
Thermal Imaging Binoculars
 Merger LRF XP50
Thermal Imaging Binoculars
New
Merger LRF XP50
Thermal Imaging Binoculars
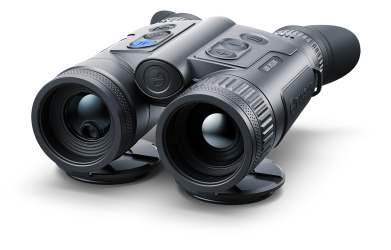
New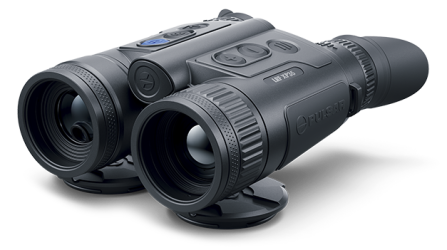 Merger LRF XP35
Thermal Imaging Binoculars
Merger LRF XP35
Thermal Imaging Binoculars
 Merger LRF XQ35
Thermal Imaging Binoculars
New
Merger LRF XQ35
Thermal Imaging Binoculars
New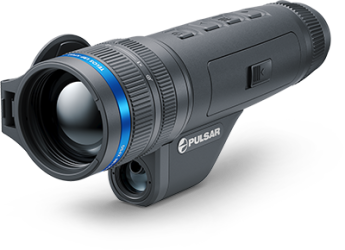 Telos
Thermal Imaging Monoculars
Telos
Thermal Imaging Monoculars
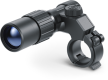
 Axion 2 LRF
Thermal Imaging Monoculars
Axion 2 LRF
Thermal Imaging Monoculars
 Axion 2
Thermal Imaging Monoculars
New
Axion 2
Thermal Imaging Monoculars
New Axion XQ30 PRO
Thermal Imaging Monoculars
Axion XQ30 PRO
Thermal Imaging Monoculars
 Krypton 2
Thermal Imaging Monocular
Krypton 2
Thermal Imaging Monocular
 Axion XM30F
Thermal Imaging Monoculars
Axion XM30F
Thermal Imaging Monoculars
 Pulsar Digex-XS
External Infrared Illuminators
Pulsar Digex-XS
External Infrared Illuminators
 APS Batteries
Battery Packs
APS Batteries
Battery Packs
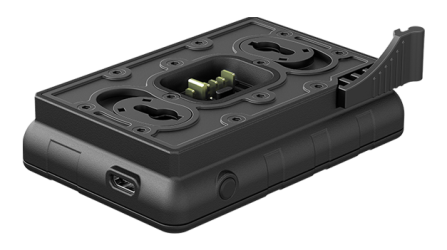
 APS Chargers
Battery Chargers
APS Chargers
Battery Chargers
 IPS Batteries
Battery Packs
IPS Batteries
Battery Packs
 IPS Battery Charger
Battery Charger
IPS Battery Charger
Battery Charger
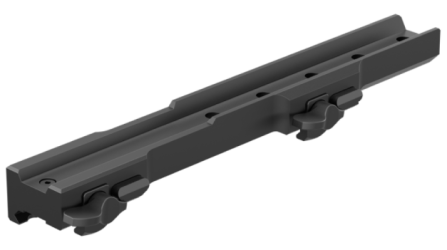 Rifle Mounts
for Pulsar Riflescopes
Rifle Mounts
for Pulsar Riflescopes
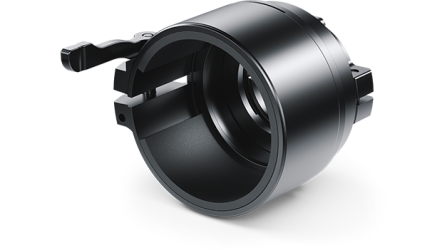
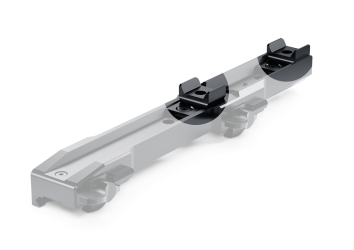 H7 Spacers
Repair Kits
New
H7 Spacers
Repair Kits
New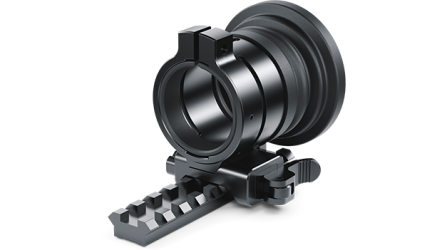 PSP-V Weaver Rail Adapter
Adapter
PSP-V Weaver Rail Adapter
Adapter
 PSP Ring Adapters
Adapters
New
PSP Ring Adapters
Adapters
New PSP-B Ring Adapters
Ring Adapters
PSP-B Ring Adapters
Ring Adapters
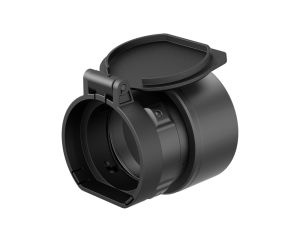 FN Adapters
Cover Ring Adapters
FN Adapters
Cover Ring Adapters
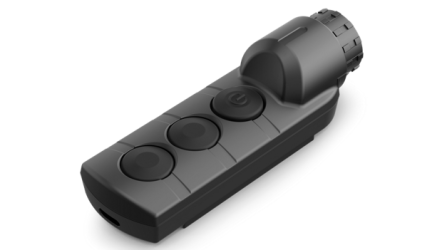 Remote Controls
for digital devices and thermal imagers
Remote Controls
for digital devices and thermal imagers
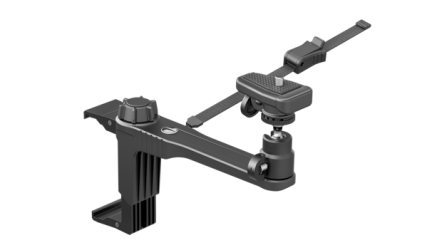
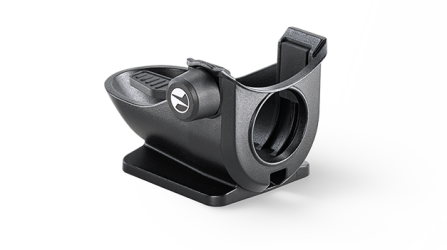
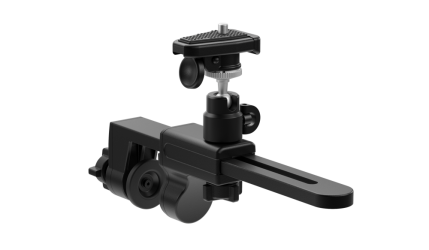 C-Clamp Mount
Pulsar Accessories
C-Clamp Mount
Pulsar Accessories
 Tree mount
Pulsar Accessories
Tree mount
Pulsar Accessories
 Window Frame Mount
Pulsar Accessories
Window Frame Mount
Pulsar Accessories
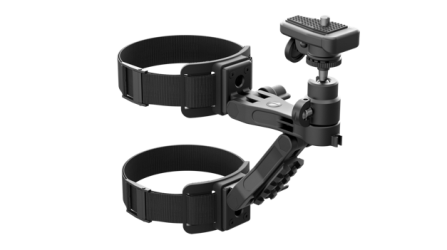
 Helion Flip-Up Phone Mount
Pulsar Accessories
Helion Flip-Up Phone Mount
Pulsar Accessories
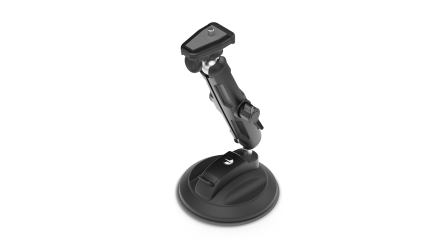 Flat Glass Mount
Pulsar Accessories
Flat Glass Mount
Pulsar Accessories
 Neck Straps
Accessories
New
Neck Straps
Accessories
New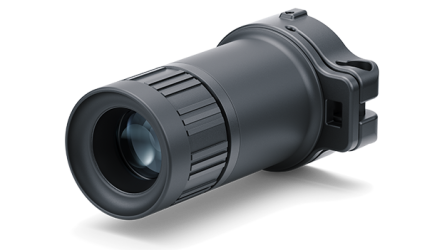 Monocular Pulsar 3x20 B
Accessories
Monocular Pulsar 3x20 B
Accessories
 Thermal Zeroing Targets
Accessories
Thermal Zeroing Targets
Accessories
 Telos LRF Tripod Adapter
Pulsar Accessories
Telos LRF Tripod Adapter
Pulsar Accessories


 English
 German
 French
 Spanish
 Italiano
 English
 Lietuvių