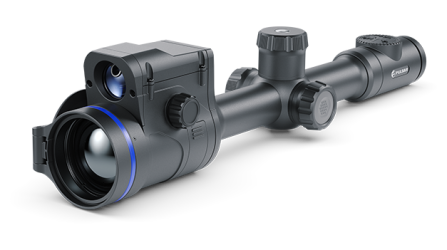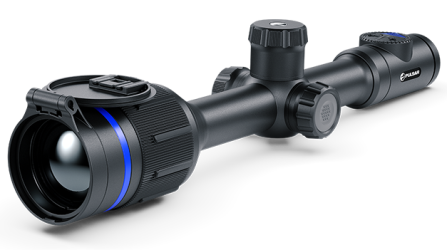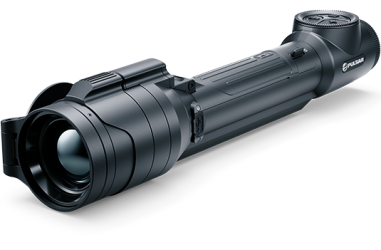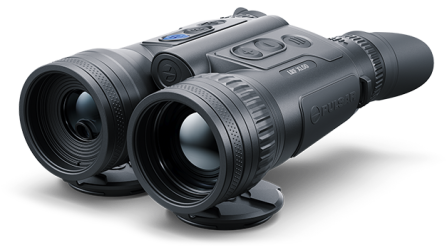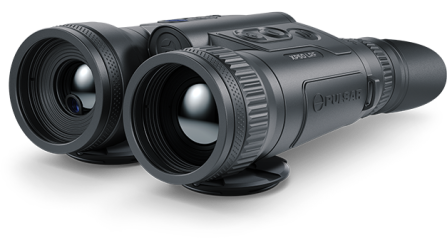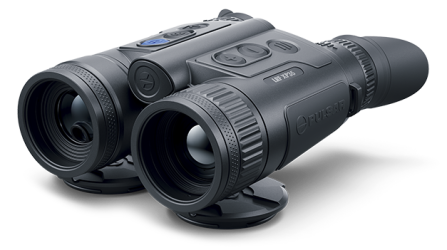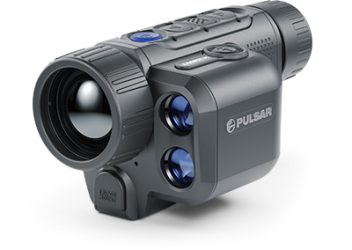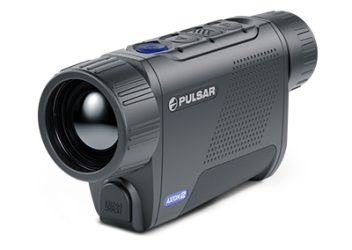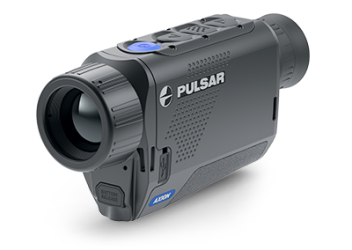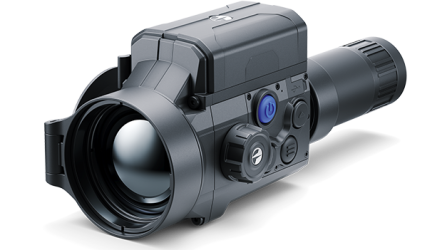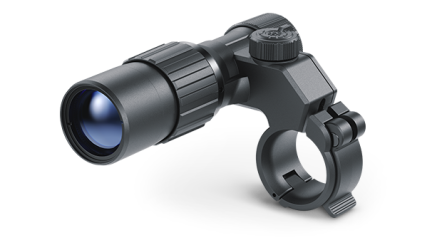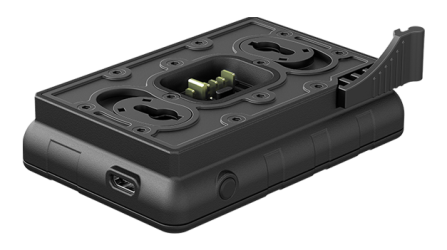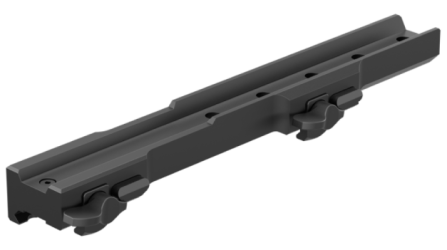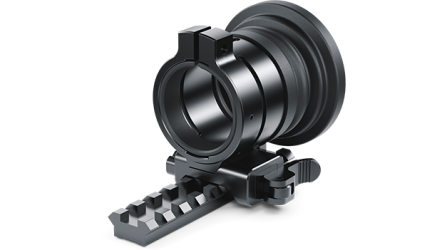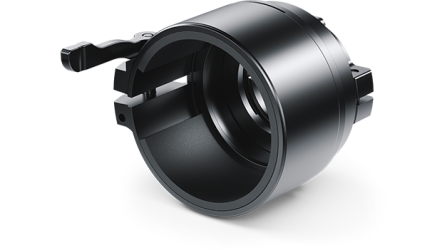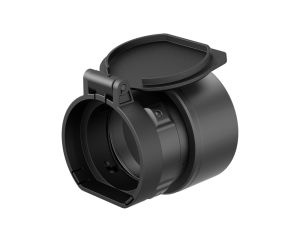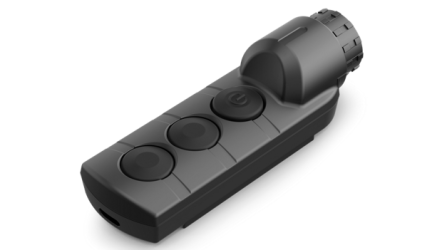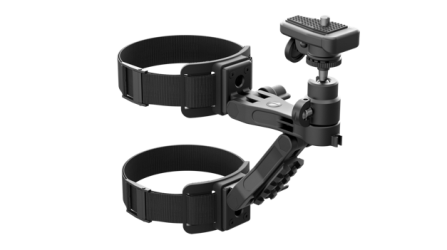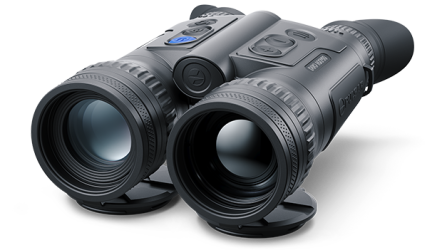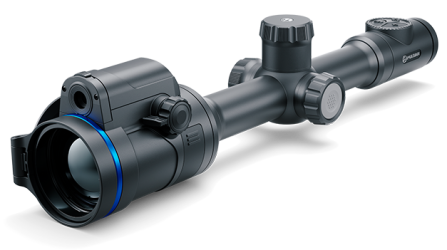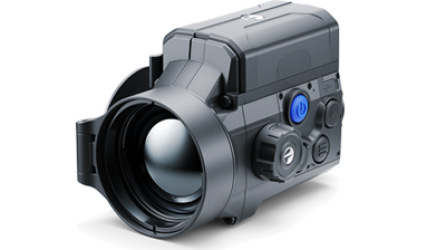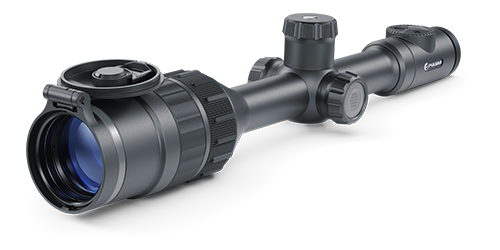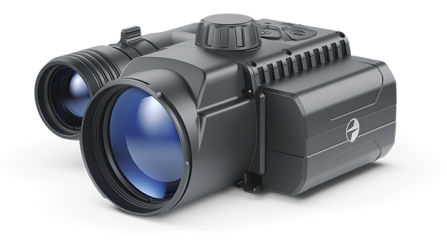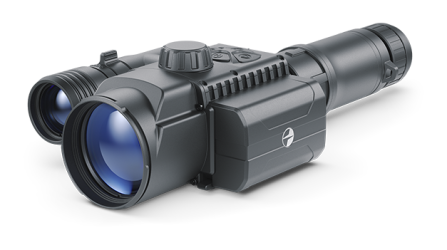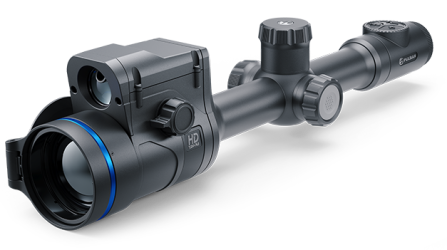
Compared with the Helion 2 XP50 Pro the new Telos LRF XP50 has the following benefits:
The minimum focusing distance for the Telos XP50 is 5 m.
No, we do not offer removal of the laser rangefinder.
It's only upgrade (adding the LRF) that is possible.
Please note that a model without the LRF is available - Telos XP50.
https://www.pulsar-nv.com/glo/products/33/thermal-imaging-monoculars/telos-xp/
Telos LRF XP50 monoculars use Lynred thermal sensor (France) 640x480 pix. @ 17 µm (NETD <18 mK)
Telos is the first line of thermal imaging products on the market with the possibility of technical upgrade at the request of the client. The device provides for the possibility of upgrading components, such as more powerful optics, a sensor or a display with a higher resolution, more efficient and functional electronics, etc.
No, we don’t sell any electronic components or parts.
To upgrade the device, it is necessary to send it to our service center.
35 mm and 50 mm are the only lens options we are offering for the Telos. Interchangeable lenses are not currently available separately as accessories or spare parts. All possible changes in the design of devices will be displayed in the Upgradable Device program later.
During the calibration process the image freezes on the screen – this is normal and not a defect.
Default calibration mode is “Automatic” (the software decides when calibration is necessary) but you can change it to “Manual” mode in the "Main menu" => "Calibration mode" to calibrate the riflescope when you need to base on actual image quality. Please close the lens cover prior to manual calibration. We recommend using automatic mode all the time. Please read more about calibration in the user manual for your thermal device.
Please make sure you have made the following adjustments:
Adjust the diopter adjustment on the eyepiece to clearly see the icons on the display and in the status bar.
Adjust the lens focus to see the object of observation clearly. Please note that re-focusing may be required as the distance to the object changes.
Do the image calibration – either in manual mode (with lens cover closed) or in automatic mode.
Select the most suitable amplification level – “Normal”, “High” or “Ultra” depending on the specific observation conditions.
Go through the different color palletes.
Manually adjust display contrast and brightness. We recommend keeping those two values at similar levels. A huge difference between them badly affects the image quality.
Check smoothing filter. If needed turn it on or off.
You are using the manual calibration mode without closing the lens cover. Please make sure the lens cover is closed during calibration or switch to the automatic calibration mode if you do not want to close the cover.
No, a clicking sound is normal in the automatic and semiautomatic calibration modes.
You may switch to the manual calibration mode to avoid the sound. Remember to close the lens cover to make sure no ghost images appear on the display.
Calibration levels the background temperature of the microbolometer and eliminates image flaws (such as vertical stripes, ghost images of previous objects etc.). Intervals between calibrations depend on operating time: the longer a thermal imager operates nonstop, the less frequently calibration is required.
Please note that a certain number of non-functional pixels (max 0.5% of total quantity) is allowed by the sensor and is not considered a defect. You may try repairing the pixels using the respective menu item of your thermal imager. For details, please refer to the user manual.
Click here to view sample video instructions.
Please take note of the following:
Accuracy of measurement and maximum range depend on the reflection ratio of the target surface, the angle at which the emitting beam falls on the target surface and environmental conditions. Reflectivity is also affected by surface texture, colour, size and the shape of the target. A shiny or brightly coloured surface is normally more reflective than a dark surface.
Measuring range to a small sized target is more difficult than to a large target. Accuracy of the measurement can also be affected by light conditions, fog, haze, rain, snow etc. Ranging performance can degrade in bright conditions or when ranging towards the sun.
When measuring range to a small-sized target located more that 400 meters away, it is recommended that you put your elbow against a solid surface. This is due to possible hand tremors and difficulty hitting the target with the beam at a longer distance.
To change the magnification, turn the digital zoom adjustment ring on the objective lens.
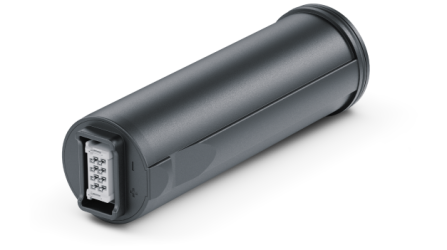
Telos devices use Li-Ion Power supply LPS 7i with a capacity of 6400 mAh.
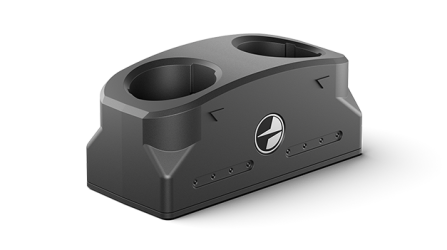
The battery can be charged using a standard wireless induction charger (remove the battery cap before charging) or
connected direct to the network adapter via the USB Type-C port.
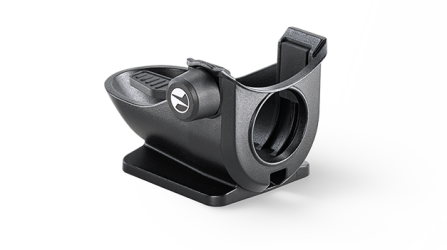
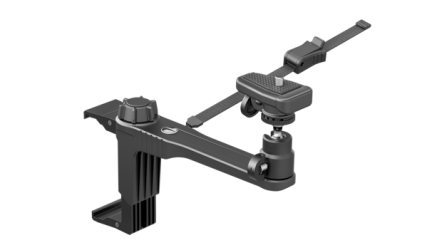
If you want to mount the Telos LRF on a tripod, you need to use the Telos tripod adapter (bought separately). The Telos tripod adapter is equipped with a 1/4" tripod mount located on the bottom plane of the adapter.
You don’t need to register your device to have a warranty.
When you buy our device from an exclusive Pulsar distributor or its dealer, you receive a warranty card with it.
Warranty starts from the date of the first purchase of the device. Also please keep your payment receipt.
For all the questions regarding service of our products please contact a distributor in your country:
https://www.pulsar-nv.com/glo/where-to-buy/36
If you are from US, please contact our US distributor Sellmark http://pulsarnv.com/#contact
Pulsar products feature 3-year warranty starting from the date of purchase.
If no purchase receipt is available and warranty card is not filled, warranty will start from the date of manufacturing plus 6 months.
The warranty period for rechargeable batteries/units (including those included into the package) is one year.
More information about warranty:
https://www.pulsar-nv.com/glo/support/customer-service/warranty-service/226/
Please note that a certain amount of non-functional pixels (max 0.5% of total quantity) is allowed by the sensor and is not considered a defect. You may try repairing the pixels using the respective menu item of your thermal imager. For details, please refer to the user manual.
Click here to view sample video instructions. https://www.youtube.com/watch?v=do2sLm4wVW0%20
Activate the pixel repair option in the device`s menu. You will be redirected to a window with picture in picture (PiP) mode and an auxiliary cross.
Operate with navigation buttons to move the cross into the bad pixel’s coordinates. Dead pixels disappear when the auxiliary cross is in the correct position.
Press the ON/OFF button and check for the “OK” message on the display.
The Telos is adapted for left- and right-handed use – you can use it with both hands.
The User Mode function saves selected brightness and contrast settings in the device's memory providing optimal image quality for the next use of the thermal imager immediately, with no additional adjustments needed.
The function is enabled in the main menu of Pulsar thermal imaging devices and remains active until the user disables it.
While the function is active, the thermal imaging device will save the latest brightness and contrast settings specific to each observation mode.
They are stored in the memory even if you temporarily disable the User Mode. Reactivating it will return the saved brightness and contrast settings.
from Yukon Group 2024
This website uses cookies to ensure you get the best experience on our website.