Defective Pixel Repair
When using the device, defective (dead) pixels may appear on the microbolometer. These are bright or dark points of a constant brightness that are visible on the image.
Krypton 2 thermal imaging attachments offer the possibility to repair any defective pixels on the microbolometer using firmware as well as to cancel removing.
Step 1. Enter the menu to fix the defective pixels
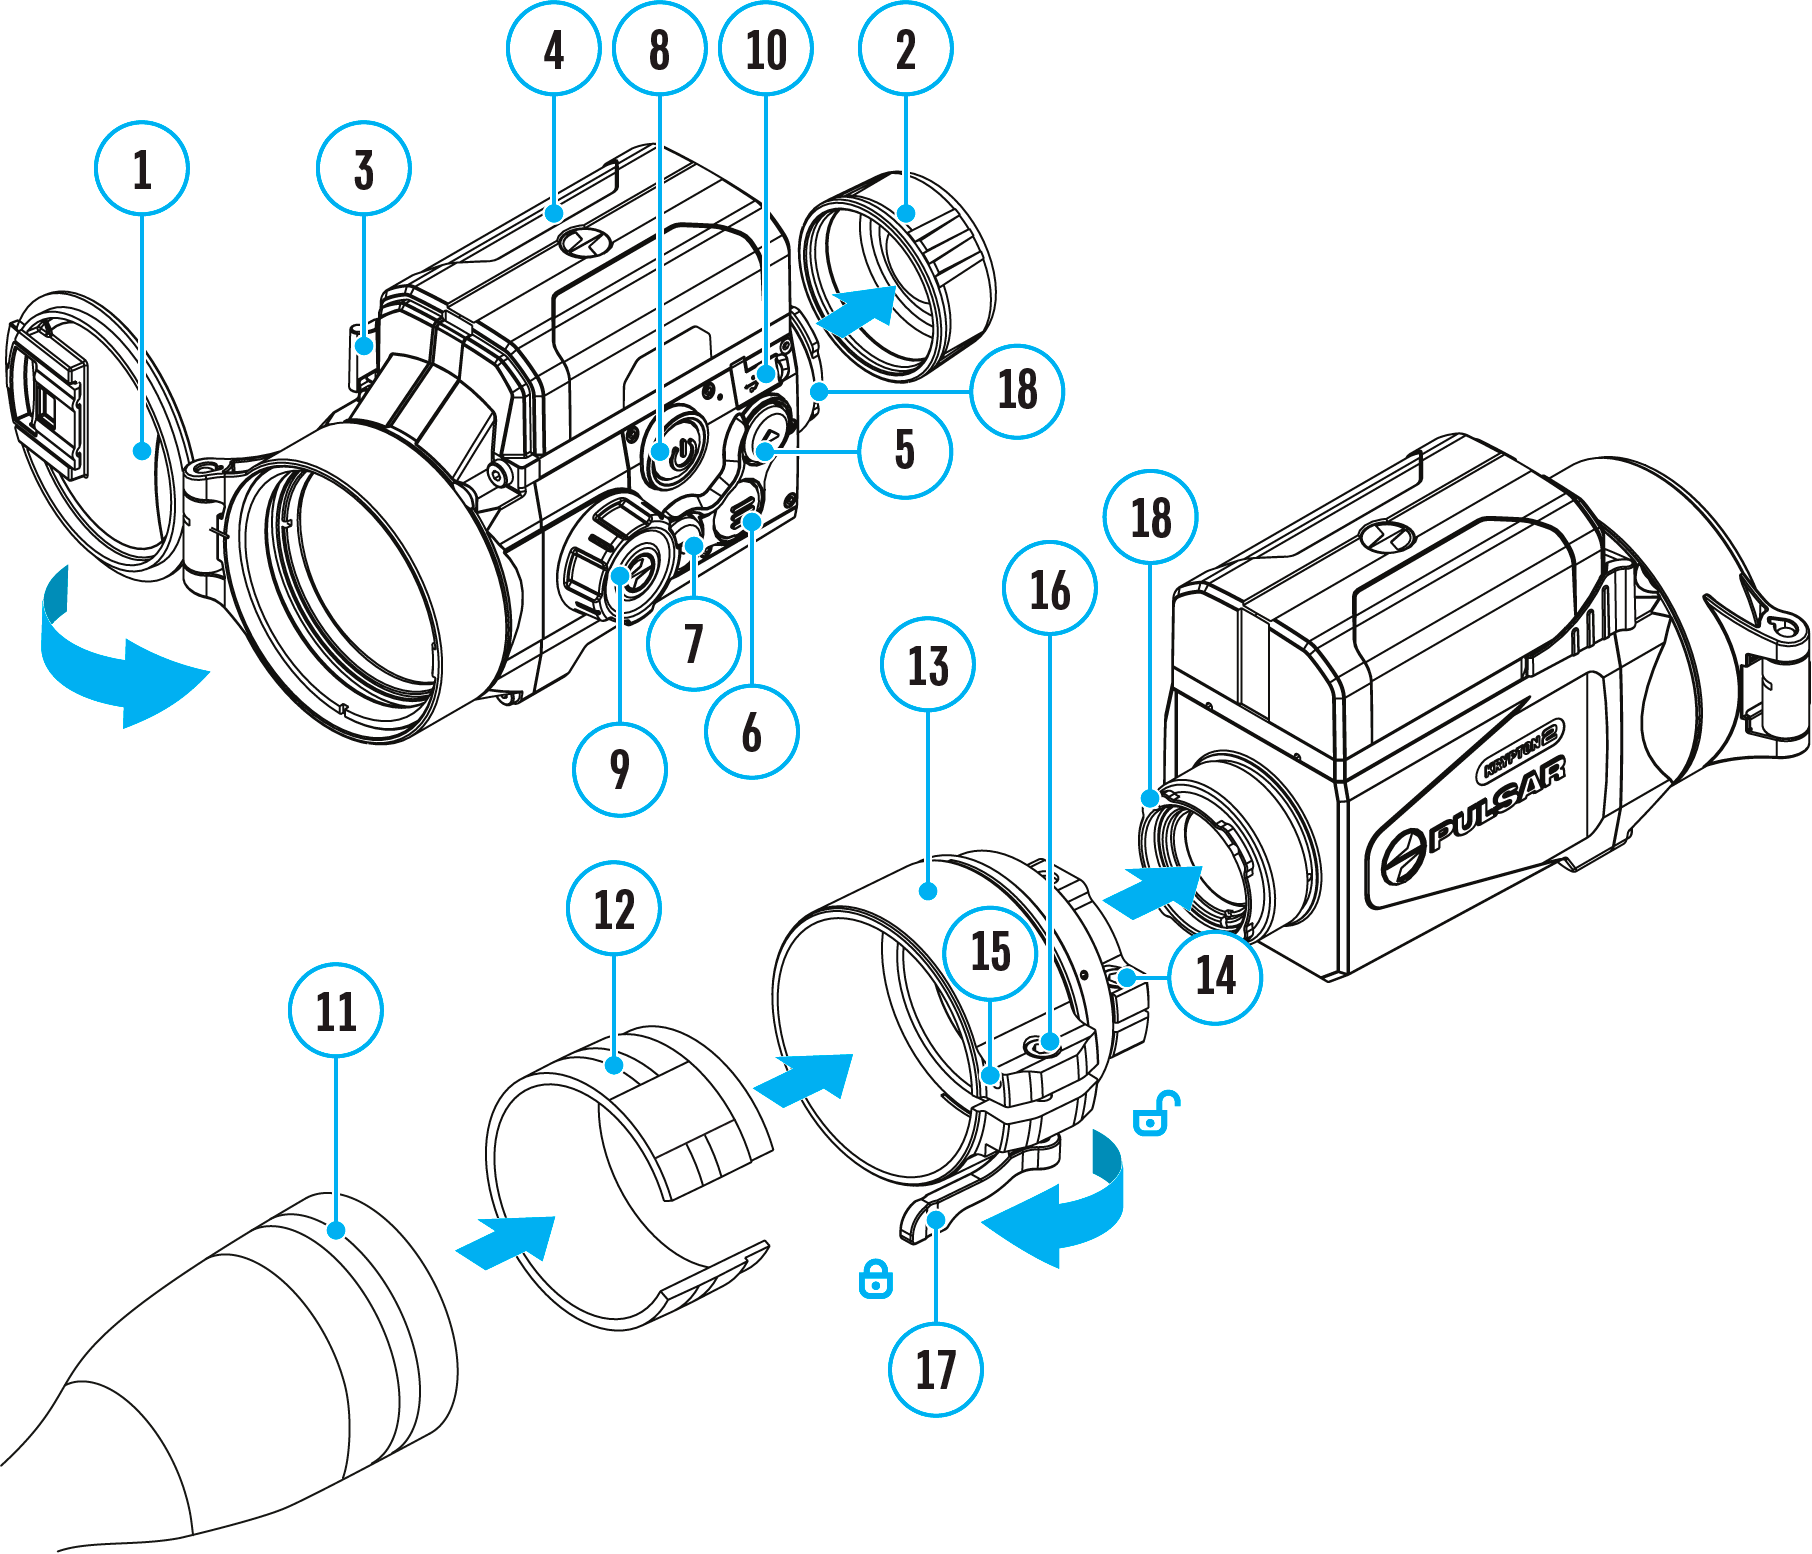
- Press and hold the MENU (6) button to enter the main menu.
- Select the submenu General Settings
 with the UP (5)/DOWN (7) buttons.
- A short press of the МENU (6) button opens the submenu.
- Use the UP (5)/DOWN (7) buttons to select the Defective Pixel Repair
 menu item.
- Press briefly the MENU (6) to open the submenu.
- Select the Defective Pixel Repair option by briefly pressing the MENU (6) button.
Step 2. Select the defective pixel
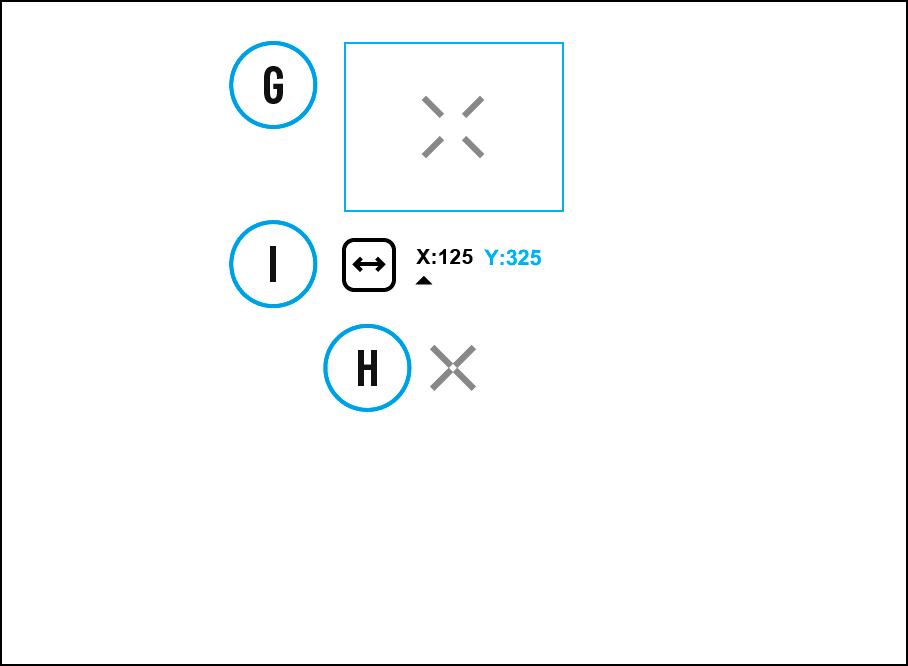
- A marker (H)
 appears on the centre of the display..
- On the top side of the display appears a "magnifying glass" (G) - a magnified image in the frame with a fixed cross
 , designed for easier detection of a defective pixel and to match the pixel with the marker, and horizontal and vertical arrows for X and Y axes (I) showing the marker's movement.
- With a short press of the UP (5)/DOWN (7) buttons move the marker to align it with a defective pixel.
- Switch the direction of the marker from horizontal to vertical and vice versa with a short press of the MENU (6) button.
- Align the defective pixel with the fixed cross in the frame - the pixel should disappear.
Step 3. Remove the defective pixel
- Delete the defective pixel with a short press of the ON/OFF (8).
- Once the pixel has been successfully deleted an "OK" message will briefly appear on the screen.
- You can then delete another defective pixel by moving the marker across the display.
- Exit the Defective Pixel Repair submenu with a long press of the MENU (6).
Warning! The display of a thermal imager may have 1- 2 pixels represented as bright white or coloured (blue, red) dots which cannot be deleted and are not a defect.
Restore Default Pixel Map
 Thermion 2 LRF XL50
Thermal Imaging Riflescope
Thermion 2 LRF XL50
Thermal Imaging Riflescope
 Thermion 2 LRF
Thermal Imaging Riflescopes
Thermion 2 LRF
Thermal Imaging Riflescopes
 Talion
Thermal Imaging Riflescopes
Talion
Thermal Imaging Riflescopes
 Thermion 2
Thermal Imaging Riflescopes
Thermion 2
Thermal Imaging Riflescopes
 Merger LRF XL50
Thermal Imaging Binoculars
Merger LRF XL50
Thermal Imaging Binoculars
 Merger LRF XP50
Thermal Imaging Binoculars
New
Merger LRF XP50
Thermal Imaging Binoculars
New Merger LRF XP35
Thermal Imaging Binoculars
Merger LRF XP35
Thermal Imaging Binoculars
 Merger LRF XQ35
Thermal Imaging Binoculars
New
Merger LRF XQ35
Thermal Imaging Binoculars
New Telos
Thermal Imaging Monoculars
Telos
Thermal Imaging Monoculars
 Axion 2 LRF
Thermal Imaging Monoculars
Axion 2 LRF
Thermal Imaging Monoculars
 Axion 2
Thermal Imaging Monoculars
New
Axion 2
Thermal Imaging Monoculars
New Axion XQ30 PRO
Thermal Imaging Monoculars
Axion XQ30 PRO
Thermal Imaging Monoculars
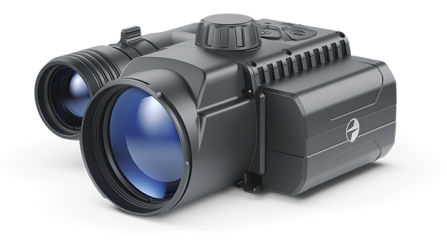
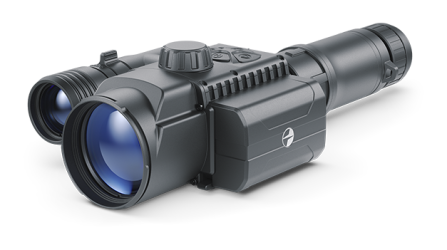
 Krypton 2
Thermal Imaging Monocular
Krypton 2
Thermal Imaging Monocular
 Axion XM30F
Thermal Imaging Monoculars
Axion XM30F
Thermal Imaging Monoculars
 Pulsar Digex-XS
External Infrared Illuminators
Pulsar Digex-XS
External Infrared Illuminators
 APS Batteries
Battery Packs
APS Batteries
Battery Packs
 APS Chargers
Battery Chargers
APS Chargers
Battery Chargers
 LPS 7i Battery Pack
Battery Packs
LPS 7i Battery Pack
Battery Packs
 Telos LRF Tripod Adapter
Pulsar Accessories
Telos LRF Tripod Adapter
Pulsar Accessories
 IPS Batteries
Battery Packs
IPS Batteries
Battery Packs
 IPS Battery Charger
Battery Charger
IPS Battery Charger
Battery Charger
 Rifle Mounts
for Pulsar Riflescopes
Rifle Mounts
for Pulsar Riflescopes
 H7 Spacers
Repair Kits
New
H7 Spacers
Repair Kits
New PSP-V Weaver Rail Adapter
Adapter
PSP-V Weaver Rail Adapter
Adapter
 PSP Ring Adapters
Adapters
New
PSP Ring Adapters
Adapters
New PSP-B Ring Adapters
Ring Adapters
PSP-B Ring Adapters
Ring Adapters
 FN Adapters
Cover Ring Adapters
FN Adapters
Cover Ring Adapters
 Remote Controls
for digital devices and thermal imagers
Remote Controls
for digital devices and thermal imagers
 C-Clamp Mount
Pulsar Accessories
C-Clamp Mount
Pulsar Accessories
 Tree mount
Pulsar Accessories
Tree mount
Pulsar Accessories
 Window Frame Mount
Pulsar Accessories
Window Frame Mount
Pulsar Accessories
 Helion Flip-Up Phone Mount
Pulsar Accessories
Helion Flip-Up Phone Mount
Pulsar Accessories
 Flat Glass Mount
Pulsar Accessories
Flat Glass Mount
Pulsar Accessories
 Neck Straps
Accessories
New
Neck Straps
Accessories
New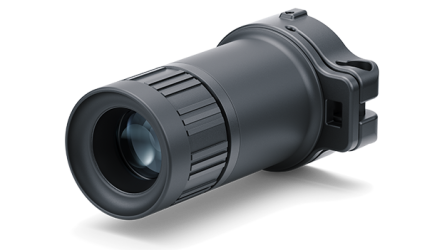 Monocular Pulsar 3x20 B
Accessories
Monocular Pulsar 3x20 B
Accessories
 Thermal Zeroing Targets
Accessories
Thermal Zeroing Targets
Accessories


 English
 German
 French
 Spanish
 Italiano
 English
 Lietuvių