Date
Date Setting:
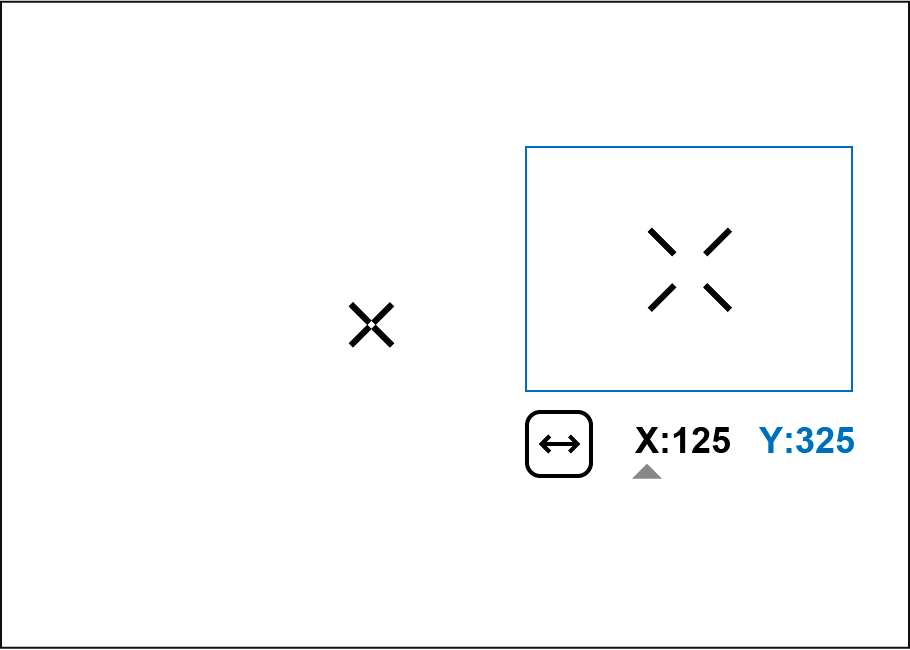
- Press the controller button (6) briefly to enter the Date
 submenu. The date is displayed in dd/mm/yyyy format.
- Rotate the controller ring (6) to select the desired year, month and date. Press the controller button (6) briefly to switch between digits.
- Press and hold the controller button (6) to save your selected date and exit from the submenu.
Time
Time Setting:
- Press the controller button (6) briefly to enter the Time
 submenu.
- Rotate the controller ring (6) to select the time format - 24 or AM/PM.
- Press the controller button (6) to proceed to the hour setting.
- Rotate the controller ring (6) to select the hour value.
- Press the controller button (6) to proceed to the minute setting.
- Rotate the controller ring (6) to select the minutes value.
- Press and hold the controller button (6) to save your selected time and exit from the submenu.
Units of Measure
Units of measurement selection:
- Press the controller button (6) briefly to enter the Units of Measure

 submenu.
- Rotate the controller ring (6) to select the unit of measurement - meters or yards, press the controller button (6).
- Return to submenu will happen automatically.
Video Compression
When set to ON, standard video compression is applied so the video file size is reduced.
When set to OFF, minimal video compression is applied. In this case, the quality of the recorded video is better, but its size is significantly increased.
Warning! Larger video file sizes result in shorter recording times. This may lead to longer download times for video files through the Stream Vision 2 app.
Enable/disable video compression:
- Rotate the controller ring (6) to select the Video Compression
 menu item.
- To turn on video compression, briefly press the controller button (6).

- To turn off video compression, briefly press the controller button (6).

Defective Pixel Repair
When using the device, defective (dead) pixels may appear on the microbolometer. These are bright or dark points of a constant brightness that are visible on the image.
Defective pixels on the microbolometer can increase in size relative to the digital-zoom power.
The Thermion 2 LRF Pro thermal riflescope allows the user to remove any defective pixels on the display, as well as cancel removal, via the device’s firmware.
Step 1. Enter the menu to fix the defective pixels
- Rotate the controller ring (6) to select the Defective Pixel Repair
 menu item.
- Press the controller button (6) to open the submenu.
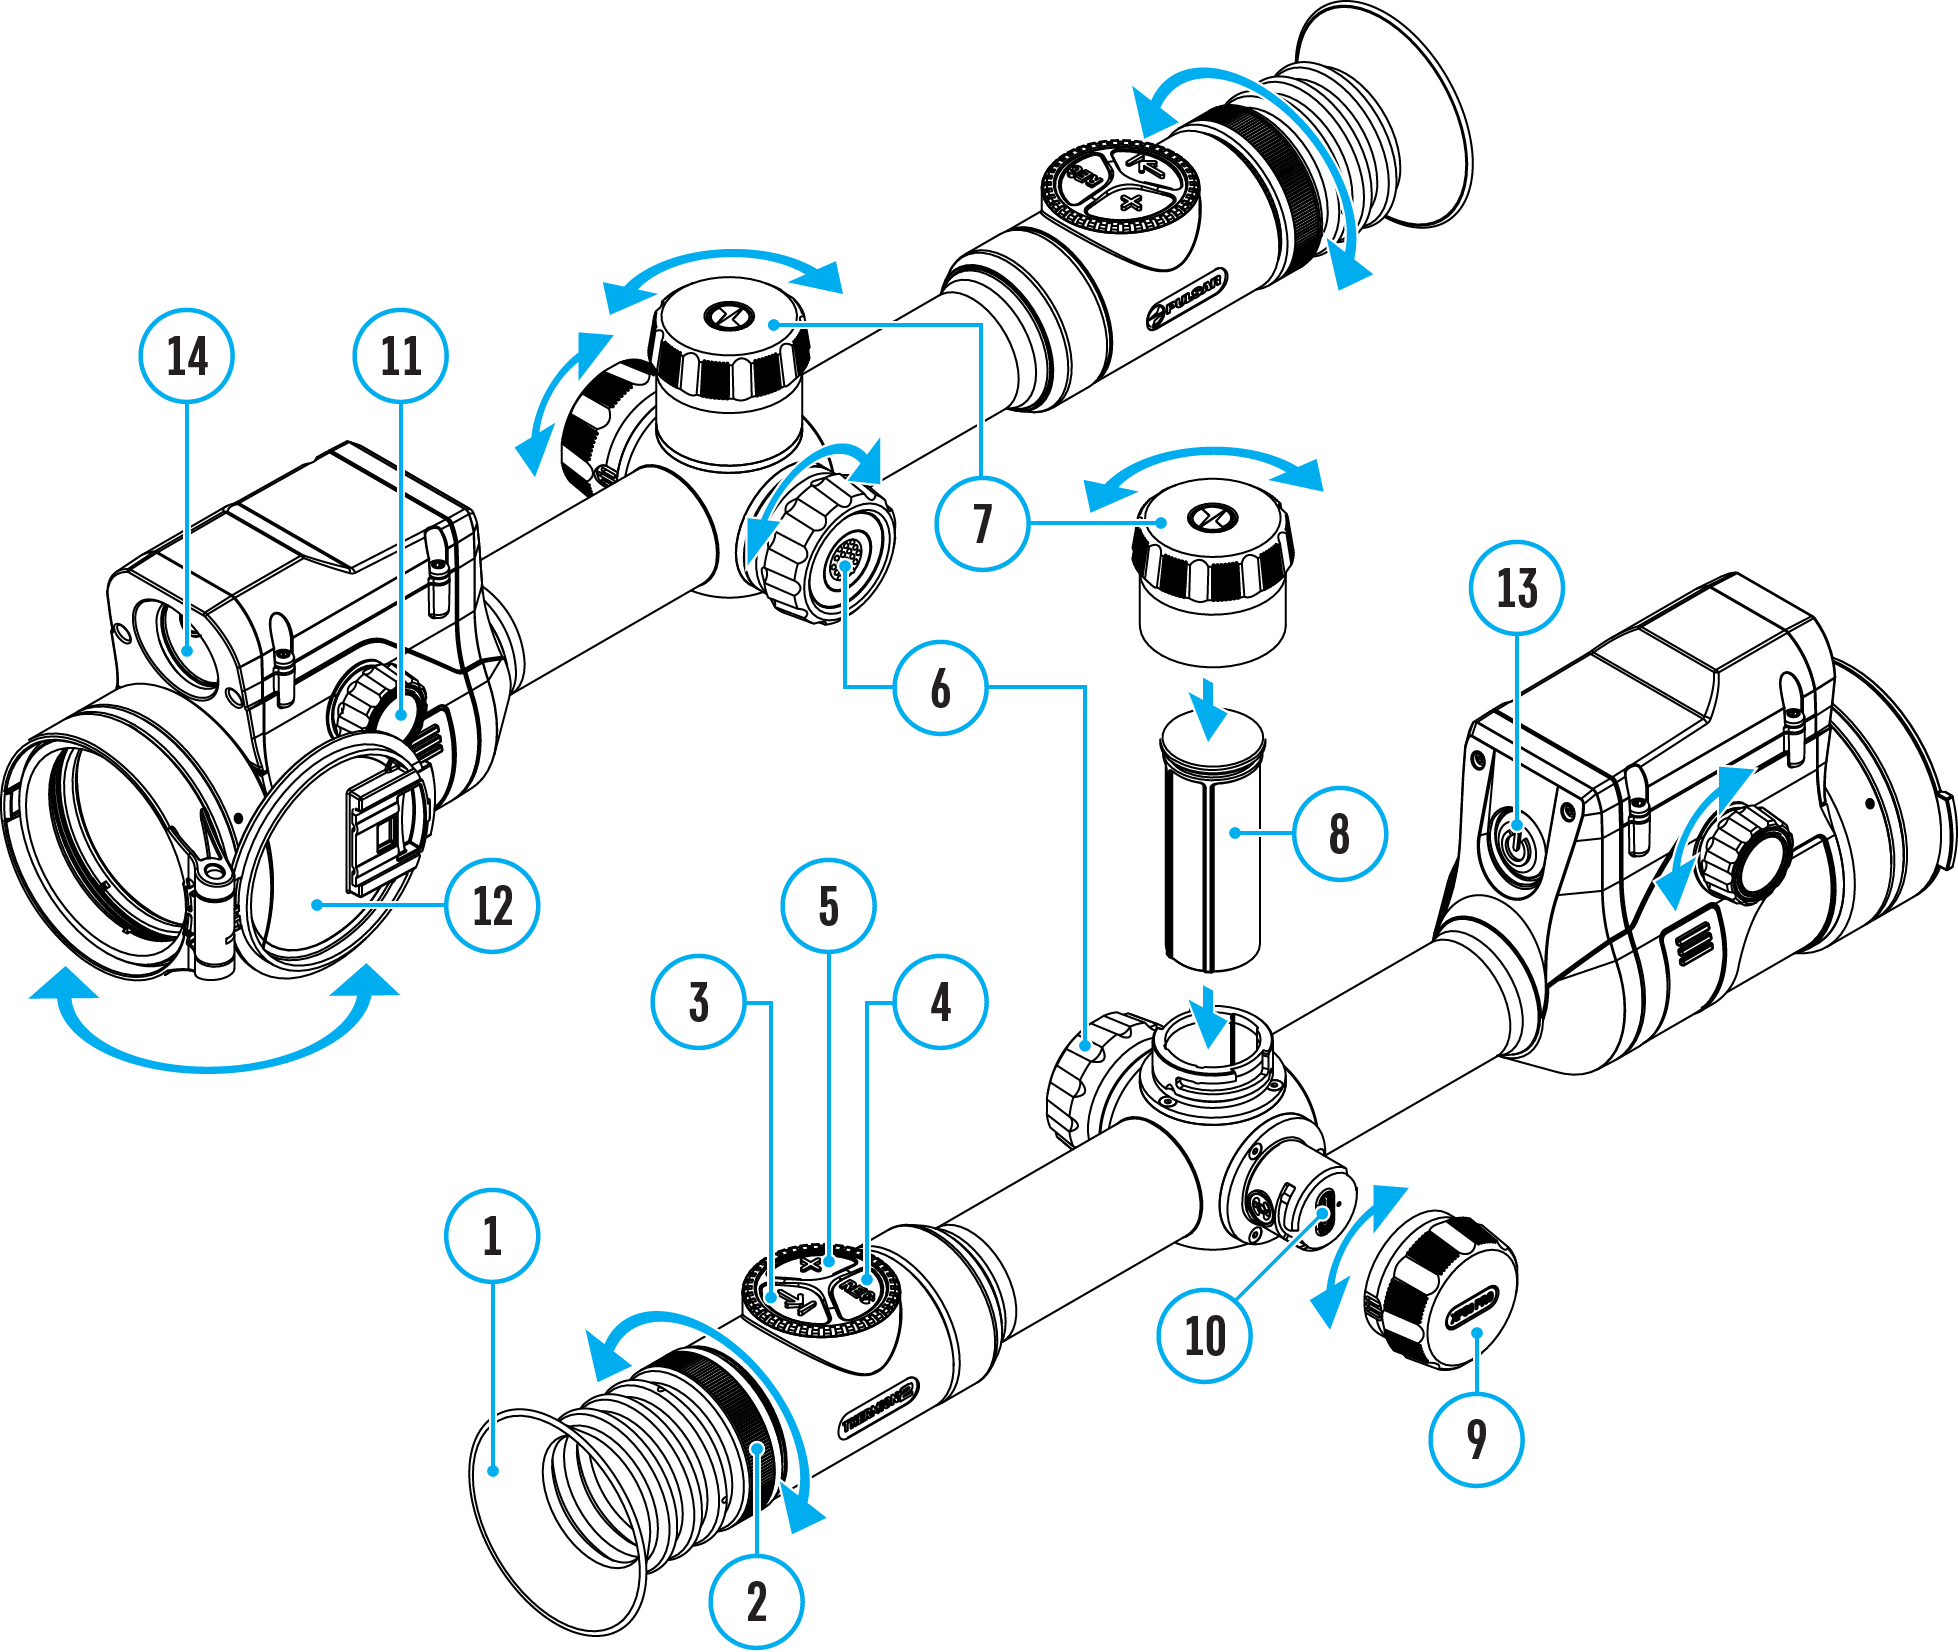
- Press the controller button (6) briefly to select the icon .
Step 2. Select the defective pixel
- A marker
 will appear in the centre of the display. A “magnifying glass” will appear on the right side of the display — a rectangle with an enlarged view of the marker
  for precise pixel selection — and marker coordinates under the “magnifying glass”
  .
.
- Rotate the controller ring (6) to move the marker to align its center with the defective pixel.
- Press the controller button (6) shortly to switch the marker direction from the horizontal to the vertical and vice versa.
- Rotate the controller ring (6) to align the defective pixel with the fixed cross in the frame – the pixel should disappear.
Step 3. Remove the defective pixel
- Delete the defective pixel with a short press of the ON/OFF (13) button.
- Where the pixel has been successfully deleted, the OK message will appear on the screen for a short time.
- Then, by moving the marker across the display, you can delete the next defective pixel.
- Press and hold the controller button (6) to exit the Defective Pixel Repair function.
Restore Default Pixel Map
This option allows the user to return all previously disabled defective pixels to their original state.
- Rotate the controller ring (6) to select the Defective Pixel Repair menu item.
- Press the controller button (6) to open the submenu.
- Rotate the controller ring (6) to select the Restore Default Pixel Map
 icon.
icon.
- Activate the function by briefly pressing the controller button (6).
- Rotate the controller ring (6) to select Yes if you want to return to the factory pixel map or select No if you do not.
- Confirm your selection with a short press of the controller button (6).
Attention! One or two pixels on the display of the device in the form of bright white, black or colored (blue, red or green) points may appear. These points cannot be removed and are not a defect.
Auto Shutdown Options
- Rotate the controller ring (6) to select Auto Shutdown Options
 .
.
- Press the controller button (6) to enter the submenu.
If device inactive for 30 min
When this feature is enabled, the device automatically turns off after 30 minutes of inactivity Display off mode.
- Rotate the controller ring (6) to select If device inactive for 30 min
 .
.
- Press controller ring (6) to select On for turning on the function or Off for turning it off.
If in idle position
- Rotate the controller ring (6) to select If in idle position
 .
.
- Press the controller button (6) to enter the submenu.
- Rotate the controller ring (6) to select the time period (1 min, 3 min, 5 min) upon expiry of which the riflescope will automatically shut down, or select Switch off if you wish to deactivate Auto Shutdown.
- Confirm your selection with a short press of the controller button (6).
Note: If the automatic shutdown function is activated, the status bar shows an icon and shutdown time period as 1/3/5 min.
Side Incline
This item allows you to activate or deactivate the “sector” arrows on the sides of the display. These arrows show the direction in which your rifle scope should be rotated to eliminate incline.

There are three modes of incline:
- 5°-10° – one sector arrow;
- 10°-20° - two sector arrow;
- > 20° - three sector arrow.
A side incline of less than 5° is not displayed.
- Rotate the controller ring (6) to select Side Incline
 .
.
- Press controller ring (6) to select On for turning on the incline indication or Off for turning it off.
Default Settings
- Press the controller button (6) briefly to enter the Default Settings

 submenu.
- Rotate the controller ring (6) to select “Yes” to restore default settings or “No” to cancel the action.
- Confirm your selection with a short press of the controller button (6).
The following settings will be returned to their defaults:
- Video Recorder Mode – Video
- Amplification Level – Normal
- Smoothing Filter – Off
- User Mode - Off
- Calibration Mode – automatic
- Interface Language – English
- Wi-Fi – Off (unique password)
- Magnification – initial value
- PiP – Off
- Color Mode – White hot
- Units of Measurement – metric
- Side Incline – On
- Zeroing Profile – A
- Reticle selection from the riflescope’s memory – 1
- Video Compression – Off
- WiFi Band – 2.4 GHz
- Ballistic calculator – On
- Ballistic calculator units – MOA
- Display dimming – Off
- Auto shutdown if device inactive for 30 min – On
Attention! After restoring default settings, the date, time and user pixel map as well as the zeroing profiles data entered by the user are saved.
Format
This menu option allows you to format the device's memory card. All files will be deleted.
Formatting should be carried out in case of a memory card error.
Before formatting, make sure you transfer all footage to other media.
- Press the controller button (6) briefly to enter the Format
 submenu.
- Rotate the controller ring (6) to select “Yes” to format the memory card, or “No” to return to the submenu.
- Confirm your selection by pressing the controller button (6).
- If “Yes” is selected, display will show “Do you want to format memory?” with “Yes” and “No” dialogue options. Select “Yes” to format the memory card.
- If “No” option is selected: formatting is cancelled and return to the submenu.
 Thermion 2 LRF XL50
Thermal Imaging Riflescope
Thermion 2 LRF XL50
Thermal Imaging Riflescope
 Thermion 2 LRF
Thermal Imaging Riflescopes
Thermion 2 LRF
Thermal Imaging Riflescopes
 Thermion 2
Thermal Imaging Riflescopes
Thermion 2
Thermal Imaging Riflescopes
 Talion
Thermal Imaging Riflescopes
New
Talion
Thermal Imaging Riflescopes
New Merger LRF XT50
Thermal Imaging Binoculars
Merger LRF XT50
Thermal Imaging Binoculars
 Merger LRF XL50
Thermal Imaging Binoculars
Merger LRF XL50
Thermal Imaging Binoculars
 Merger LRF XP50
Thermal Imaging Binoculars
New
Merger LRF XP50
Thermal Imaging Binoculars
New Merger LRF XP35
Thermal Imaging Binoculars
Merger LRF XP35
Thermal Imaging Binoculars
 Merger LRF XQ35
Thermal Imaging Binoculars
New
Merger LRF XQ35
Thermal Imaging Binoculars
New Telos
Thermal Imaging Monoculars
New
Telos
Thermal Imaging Monoculars
New Axion Compact
Thermal Imaging Monoculars
Axion Compact
Thermal Imaging Monoculars
 Axion 2 LRF
Thermal Imaging Monoculars
Axion 2 LRF
Thermal Imaging Monoculars
 Axion 2
Thermal Imaging Monoculars
New
Axion 2
Thermal Imaging Monoculars
New Axion XQ30 PRO
Thermal Imaging Monoculars
Axion XQ30 PRO
Thermal Imaging Monoculars
 Krypton 2
Thermal Imaging Monocular
Krypton 2
Thermal Imaging Monocular
 Axion XM30F
Thermal Imaging Monoculars
Discontinued
Axion XM30F
Thermal Imaging Monoculars
Discontinued Pulsar Digex-XS
External Infrared Illuminators
Pulsar Digex-XS
External Infrared Illuminators
 APS Batteries
Battery Packs
APS Batteries
Battery Packs
 APS Chargers
Battery Chargers
APS Chargers
Battery Chargers
 LPS 7i Battery Pack
Battery Packs
LPS 7i Battery Pack
Battery Packs
 Telos LRF Tripod Adapter
Pulsar Accessories
Telos LRF Tripod Adapter
Pulsar Accessories
 IPS Batteries
Battery Packs
IPS Batteries
Battery Packs
 IPS Battery Charger
Battery Charger
IPS Battery Charger
Battery Charger
 Rifle Mounts
for Pulsar Riflescopes
Rifle Mounts
for Pulsar Riflescopes
 H7 Spacers
Repair Kits
New
H7 Spacers
Repair Kits
New PSP-V Weaver Rail Adapter
Adapter
PSP-V Weaver Rail Adapter
Adapter
 PSP Ring Adapters
Adapters
New
PSP Ring Adapters
Adapters
New PSP-B Ring Adapters
Ring Adapters
PSP-B Ring Adapters
Ring Adapters
 FN Adapters
Cover Ring Adapters
FN Adapters
Cover Ring Adapters
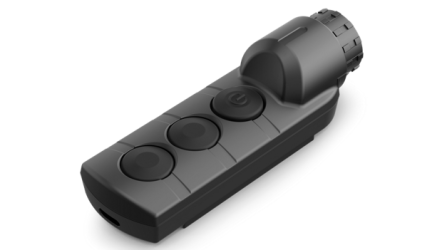 Remote Controls
for digital devices and thermal imagers
Remote Controls
for digital devices and thermal imagers
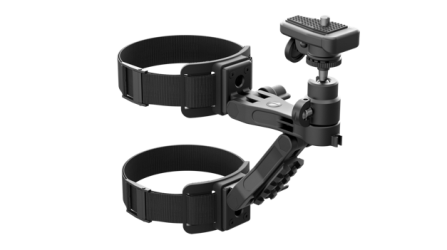 Tree mount
Pulsar Accessories
Tree mount
Pulsar Accessories
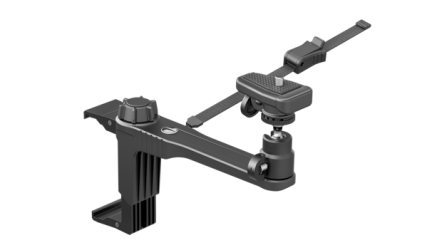 Window Frame Mount
Pulsar Accessories
Window Frame Mount
Pulsar Accessories
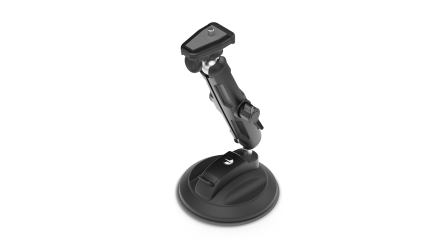 Flat Glass Mount
Pulsar Accessories
Flat Glass Mount
Pulsar Accessories
 Neck Straps
Accessories
New
Neck Straps
Accessories
New Monocular Pulsar 3x20 B
Accessories
Monocular Pulsar 3x20 B
Accessories
 Thermal Zeroing Targets
Accessories
Thermal Zeroing Targets
Accessories


 English
 German
 French
 Spanish
 Italiano
 English
 Lietuvių