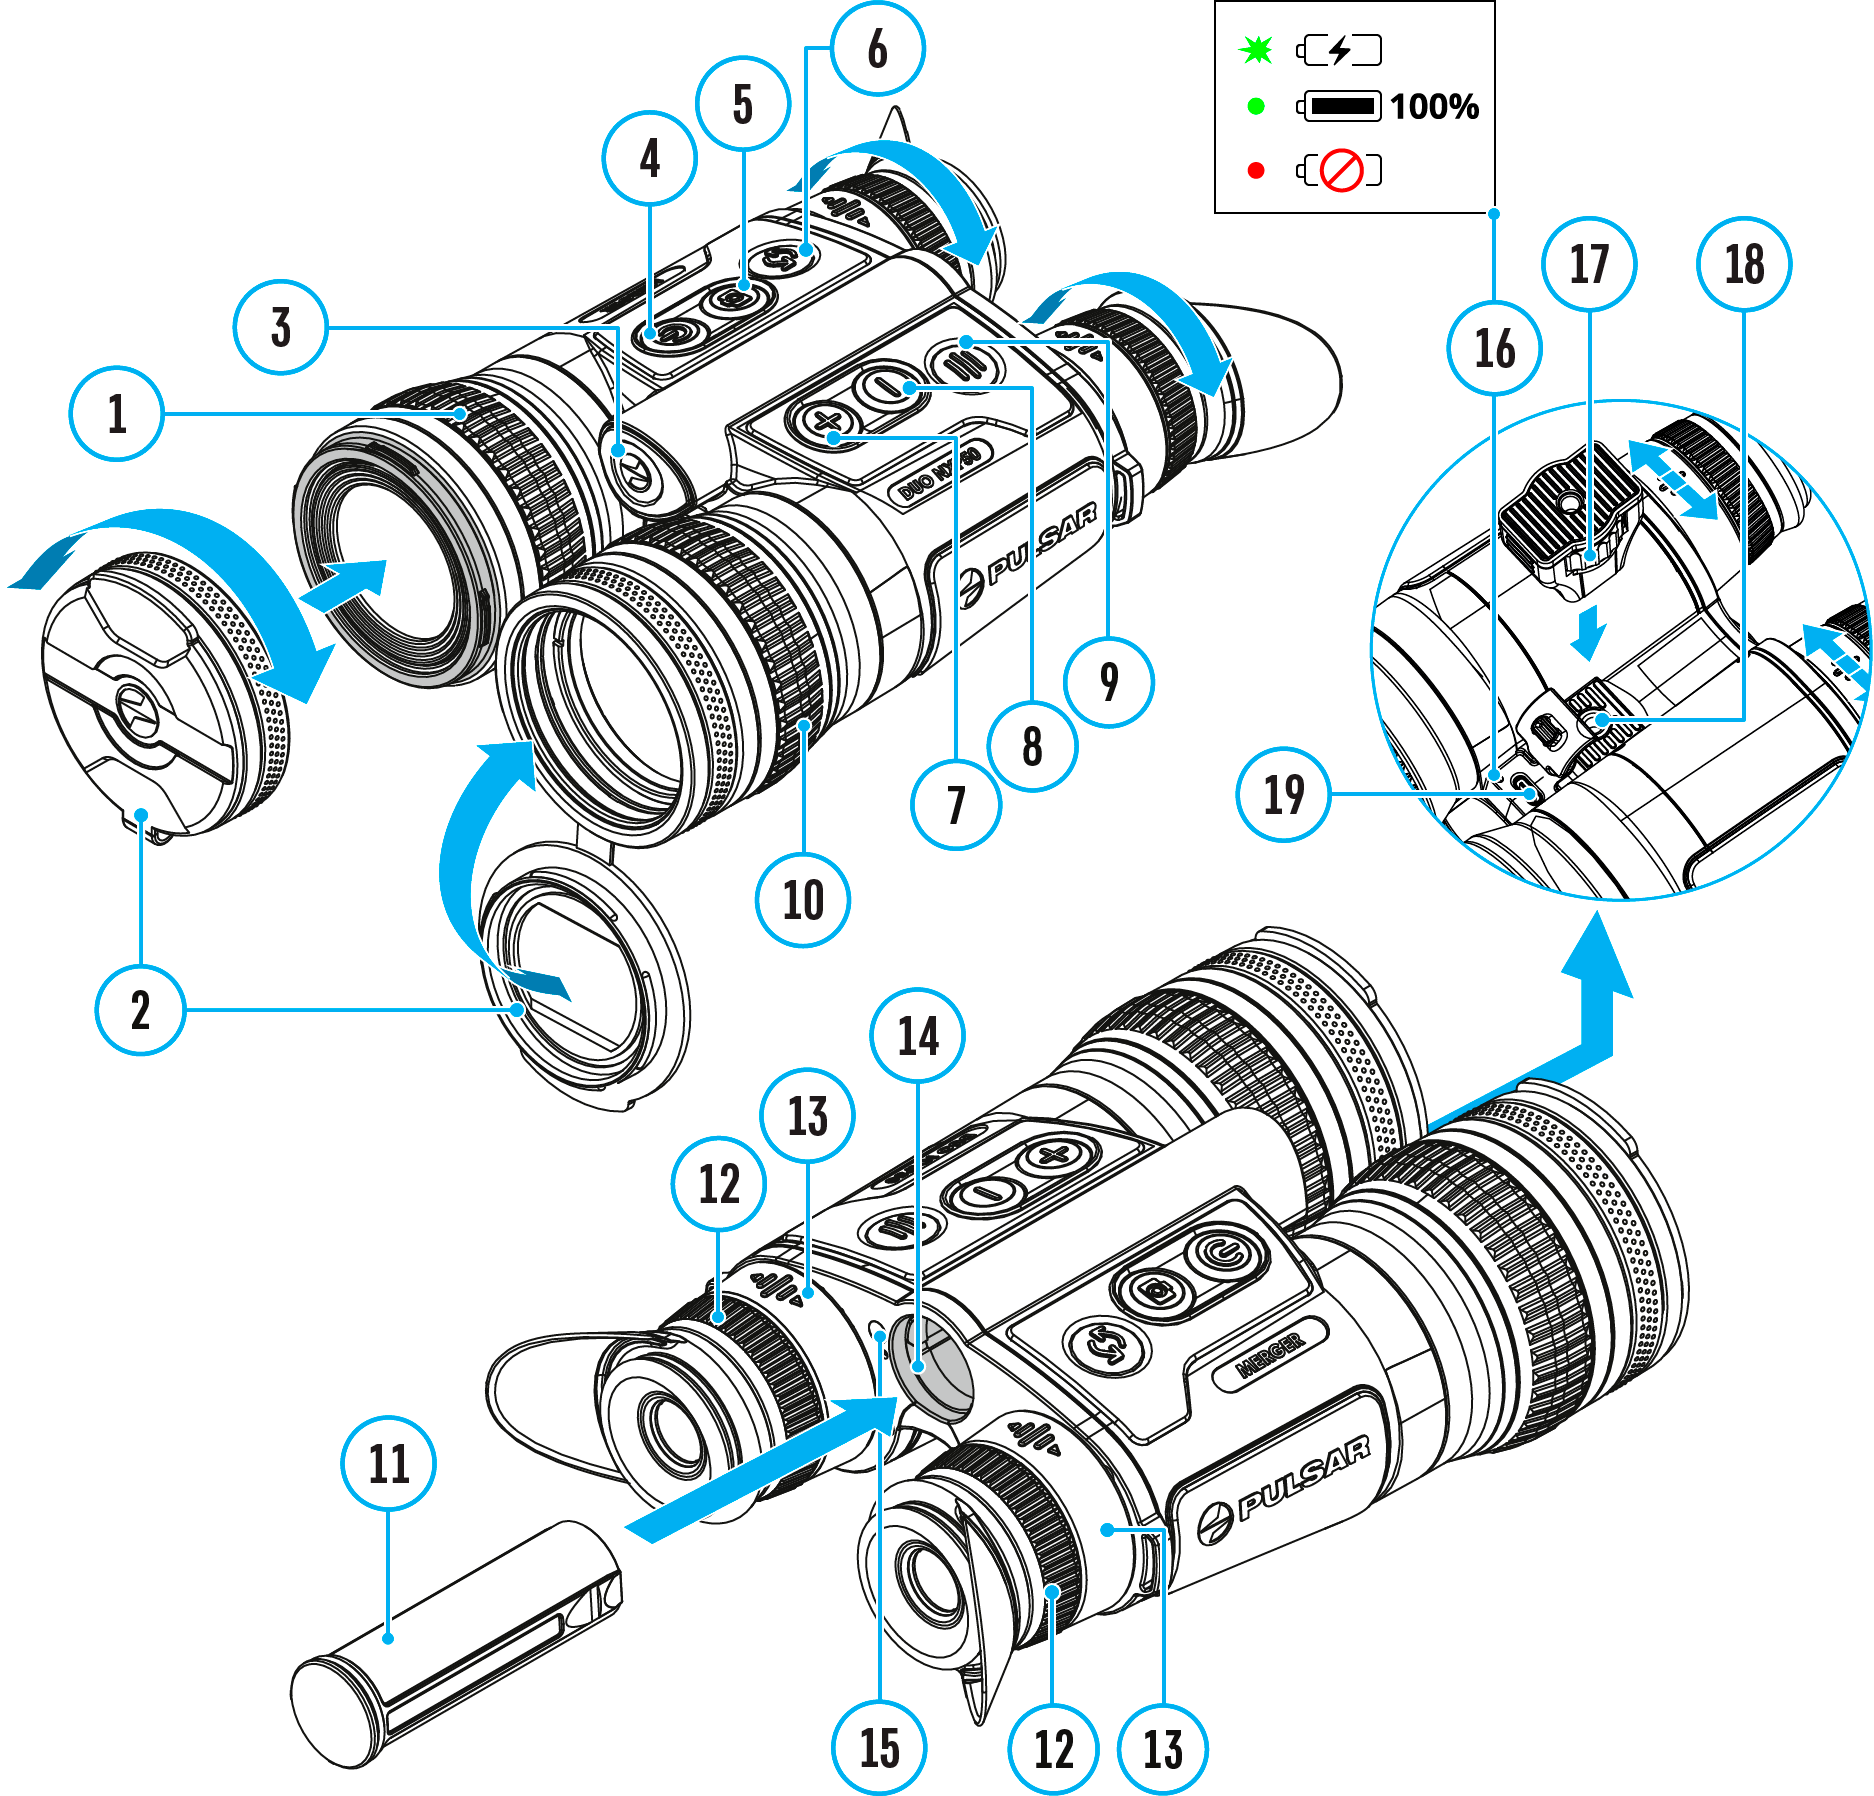
1. Open the lens covers (2).
2. Press the ON/OFF (4) button briefly to power the device on.
3. Adjust the interpupillary distance by moving the eyepieces (13) farther or closer to each other. It takes some effort to move the eyepieces.
4. Adjust the symbol sharpness on the displays by rotating the eyepiece dioptre rings (12). In future, it will not be necessary to rotate the eyepiece dioptre rings, regardless of the distance and other conditions.
5. Briefly press the MODE button (6) to select the desired image mode: thermal or digital.
6. To focus on the observation object, rotate the lens focusing rings of the thermal imaging (10) and digital (1)
7. Long press the MODE button (6) to activate the PiP multispectral mode. Briefly press the MODE button (6) to select the image mode of the PiP window: thermal or digital.
8. In thermal imaging and multispectral PiP  modes:
- Select the calibration mode: manual (M), semi-automatic (SA) or automatic (A) in the main menu (enter the menu by long pressing the MENU button (9)).
- Calibrate the thermal image by briefly pressing the ON/OFF button (4) (when calibration mode SA or M has been selected). Close the thermal channel lens cover before manual calibration.
- Select the required amplification level for the thermal image (“Normal”
 , “High”
  , “Ultra”
  ) by short pressing the DOWN (8)
- Activate the smoothing filter
 in the main menu to improve the thermal image as the amplification level increases.
- Fast switch between the "White hot" palette of the thermal image and the palette selected in the main menu by long pressing the DOWN (8) button.
9. In digital and multispectral PiP  modes with a connected IR illuminator:
- Shortly press the DOWN (8) button to turn on the IR illuminator.
- Shortly press the DOWN (8) button to select one of three power levels of the IR illuminator. An increase in power level is required with the increasing distance to the observation object. This increases the discharge rate.
- To turn off the IR illuminator, press and hold the DOWN (8)
10. Adjust the brightness, display contrast, smooth digital zoom in the quick menu (activate by briefly pressing the MENU button (9)).
11. Power the device off with a long press of the ON/OFF button (4).
Notes:
- To prevent accidental decamouflage of the user, the displays automatically turn off when the observer moves the device away from the face.
- When the device approaches the face, the displays will automatically turn on.
- The proximity sensor can be disabled/enabled in the “General settings” section of the main menu.
Observation conditions: time of day, weather, different observation objects affect the image quality. Custom settings for brightness, display contrast as well as the function of adjusting the microbolometer sensitivity level will help to achieve the desired quality in a particular situation.
Warning! Never point the lens at intensive energy sources such as laser radiation emitting devices or the sun. It can damage electronic components in the device. The warranty does not cover damage arising from failure to comply with operating instructions.
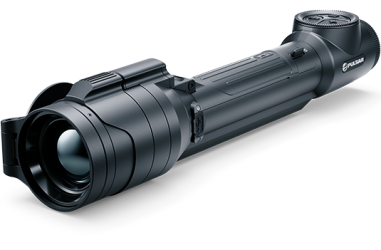
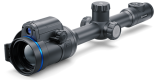
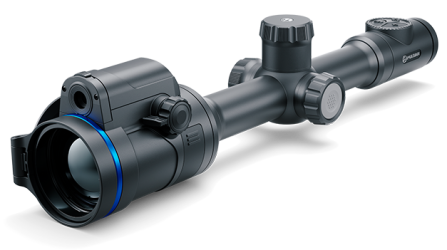
 Thermion 2 LRF XL50
Thermal Imaging Riflescope
Thermion 2 LRF XL50
Thermal Imaging Riflescope
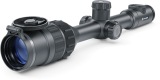
 Thermion 2 LRF
Thermal Imaging Riflescopes
Thermion 2 LRF
Thermal Imaging Riflescopes
 Talion
Thermal Imaging Riflescopes
Talion
Thermal Imaging Riflescopes
 Thermion 2
Thermal Imaging Riflescopes
Thermion 2
Thermal Imaging Riflescopes
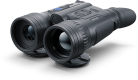
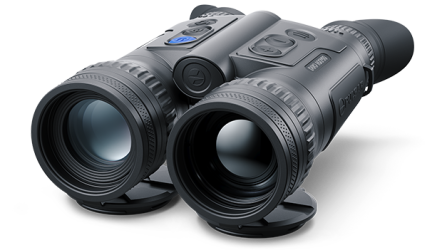
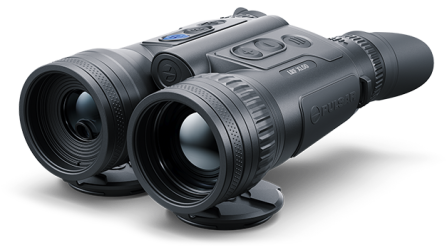 Merger LRF XL50
Thermal Imaging Binoculars
Merger LRF XL50
Thermal Imaging Binoculars
 Merger LRF XP50
Thermal Imaging Binoculars
New
Merger LRF XP50
Thermal Imaging Binoculars
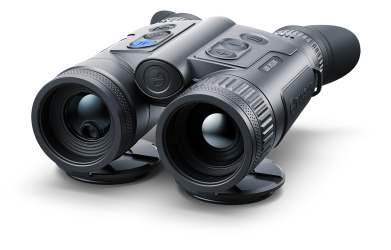
New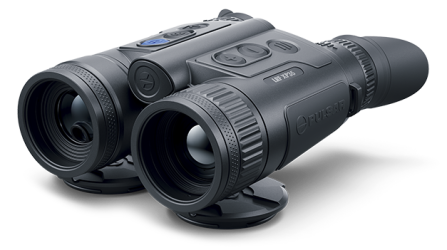 Merger LRF XP35
Thermal Imaging Binoculars
Merger LRF XP35
Thermal Imaging Binoculars
 Merger LRF XQ35
Thermal Imaging Binoculars
New
Merger LRF XQ35
Thermal Imaging Binoculars
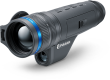
New Telos
Thermal Imaging Monoculars
Telos
Thermal Imaging Monoculars
 Axion 2 LRF
Thermal Imaging Monoculars
Axion 2 LRF
Thermal Imaging Monoculars
 Axion 2
Thermal Imaging Monoculars
New
Axion 2
Thermal Imaging Monoculars
New Axion XQ30 PRO
Thermal Imaging Monoculars
Axion XQ30 PRO
Thermal Imaging Monoculars
 Krypton 2
Thermal Imaging Monocular
Krypton 2
Thermal Imaging Monocular
 Axion XM30F
Thermal Imaging Monoculars
Axion XM30F
Thermal Imaging Monoculars
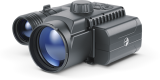
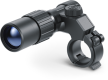
 Pulsar Digex-XS
External Infrared Illuminators
Pulsar Digex-XS
External Infrared Illuminators
 APS Batteries
Battery Packs
APS Batteries
Battery Packs
 APS Chargers
Battery Chargers
APS Chargers
Battery Chargers
 IPS Batteries
Battery Packs
IPS Batteries
Battery Packs
 IPS Battery Charger
Battery Charger
IPS Battery Charger
Battery Charger
 Rifle Mounts
for Pulsar Riflescopes
Rifle Mounts
for Pulsar Riflescopes
 H7 Spacers
Repair Kits
New
H7 Spacers
Repair Kits
New PSP-V Weaver Rail Adapter
Adapter
PSP-V Weaver Rail Adapter
Adapter
 PSP Ring Adapters
Adapters
New
PSP Ring Adapters
Adapters
New PSP-B Ring Adapters
Ring Adapters
PSP-B Ring Adapters
Ring Adapters
 FN Adapters
Cover Ring Adapters
FN Adapters
Cover Ring Adapters
 Remote Controls
for digital devices and thermal imagers
Remote Controls
for digital devices and thermal imagers
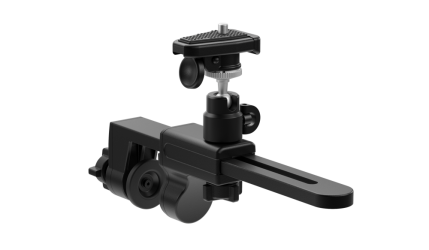 C-Clamp Mount
Pulsar Accessories
C-Clamp Mount
Pulsar Accessories
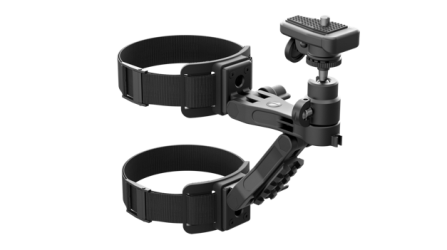 Tree mount
Pulsar Accessories
Tree mount
Pulsar Accessories
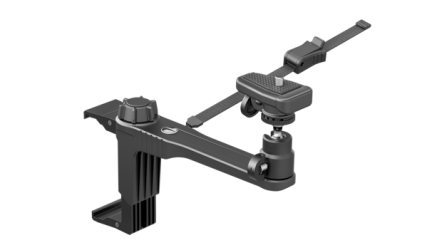 Window Frame Mount
Pulsar Accessories
Window Frame Mount
Pulsar Accessories
 Helion Flip-Up Phone Mount
Pulsar Accessories
Helion Flip-Up Phone Mount
Pulsar Accessories
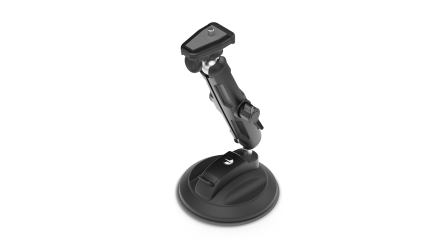 Flat Glass Mount
Pulsar Accessories
Flat Glass Mount
Pulsar Accessories
 Neck Straps
Accessories
New
Neck Straps
Accessories
New Monocular Pulsar 3x20 B
Accessories
Monocular Pulsar 3x20 B
Accessories
 Thermal Zeroing Targets
Accessories
Thermal Zeroing Targets
Accessories
 Telos LRF Tripod Adapter
Pulsar Accessories
Telos LRF Tripod Adapter
Pulsar Accessories


 English
 German
 French
 Spanish
 Italiano
 English
 Lietuvių