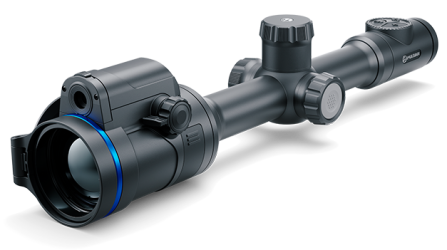
The riflescope is capable of video recording and photography. Videos and images are saved on the built-in memory card.
Before using the photo and video functions, read the Date and Time subsections of the General Settings section.
For information on how to watch recorded photos and videos, see the Stream Vision 2 user manual: Android, iOS.
Built-in recorder operates in two modes:
- Photo (photography; the icon
 is displayed in the upper left corner of the display).

- Video (video recording; the icon
 is displayed in the upper left corner of the display, the total remaining recording time is given taking into account the current resolution in the HH:MM format (hours:minutes).

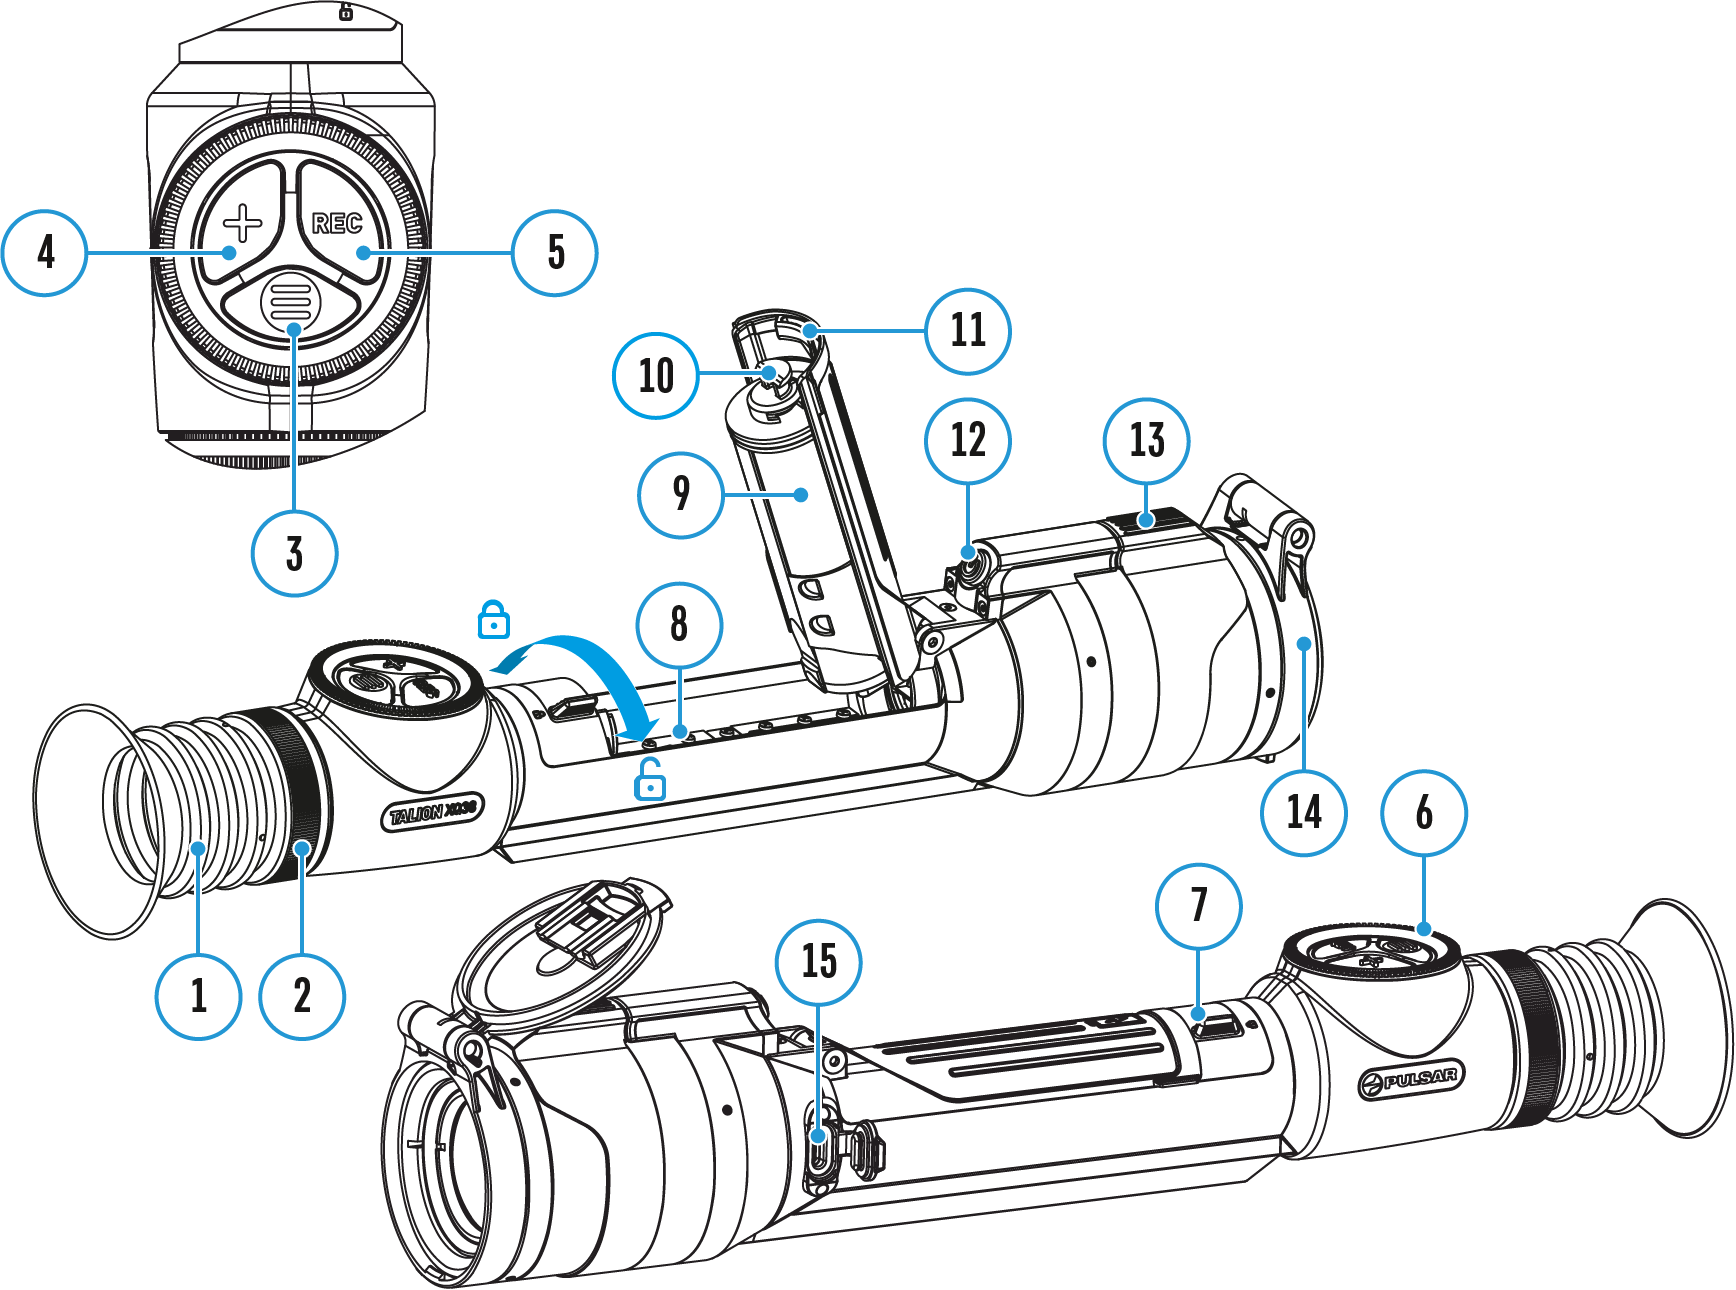
Toggle (switch) between the riflescope operating modes with a long press of the REC (5) button. Switching between the modes is cyclical (Video–> Photo–> Video...).
Photo mode. Capturing an image
1. Switch to the Photo mode with a long press of the REC (5) button.
2. Press the REC (5) button briefly to capture a photo. The icon  flashes – the photo file is being saved to the built-in SD card.
Video mode. Recording a video
1. Switch to the Video mode with a long press of the REC (5) button.
2. Press the REC (5) button briefly to start video recording.
3. When the video recording starts, the icon  will disappear, instead of it the REC icon as well as the video recording timer displayed in the MM:SS (minutes:seconds) format will appear
  .
.
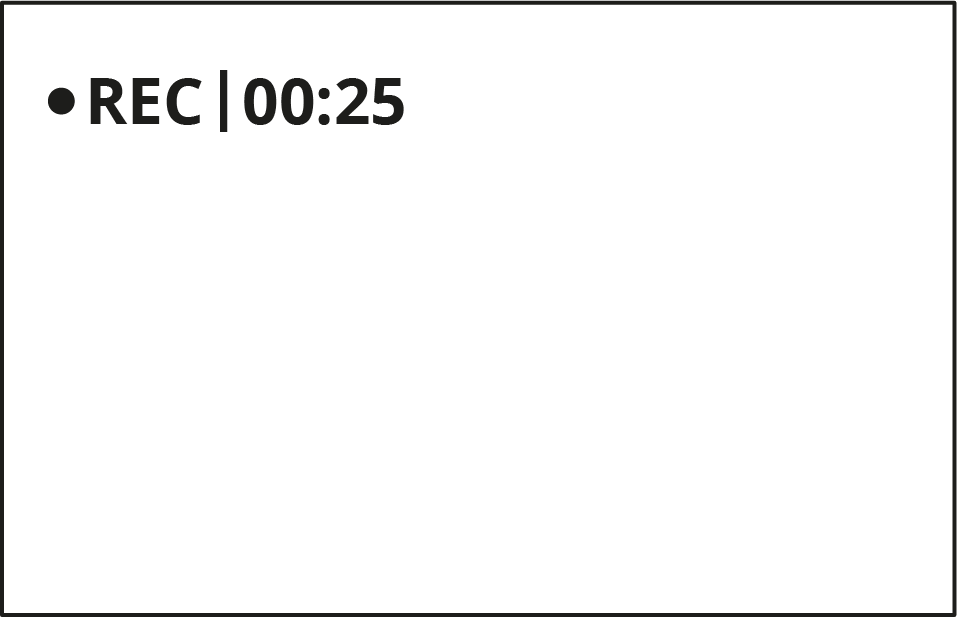
4. Pause/continue recording by briefly pressing the REC (5) button.
5. Press and hold the REC (5) button to stop video recording.
Video files are stored in the built-in memory card:
- After turning off the video recording;
- Upon powering the riflescope off if recording was on;
- When the memory card is overfilled during recording (Memory Full message appears on the display).
Notes:
 Thermion 2 LRF XL50
Thermal Imaging Riflescope
 Thermion 2 LRF
Thermal Imaging Riflescopes
 Talion
Thermal Imaging Riflescopes
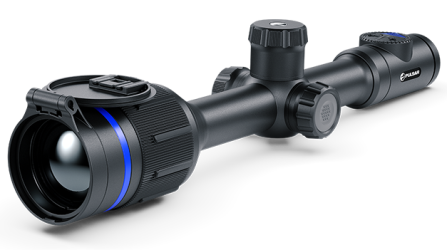 Thermion 2
Thermal Imaging Riflescopes
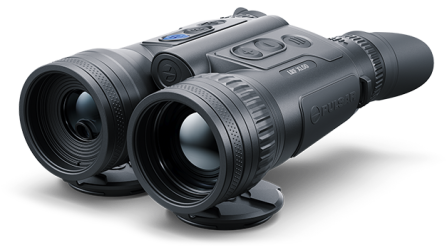 Merger LRF XL50
Thermal Imaging Binoculars
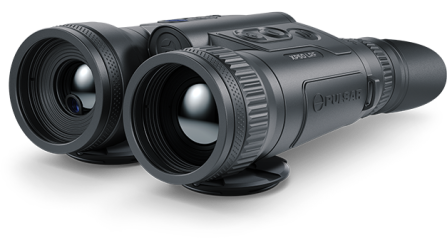 Merger LRF XP50
Thermal Imaging Binoculars
New
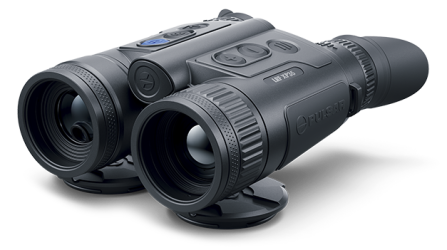 Merger LRF XP35
Thermal Imaging Binoculars
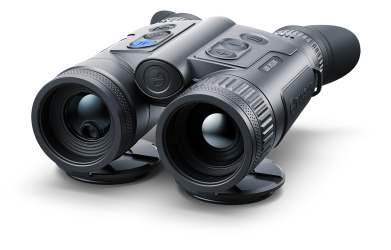 Merger LRF XQ35
Thermal Imaging Binoculars
New
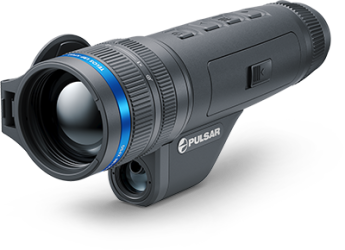 Telos
Thermal Imaging Monoculars
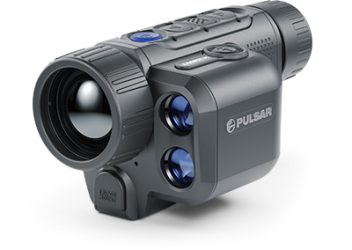 Axion 2 LRF
Thermal Imaging Monoculars
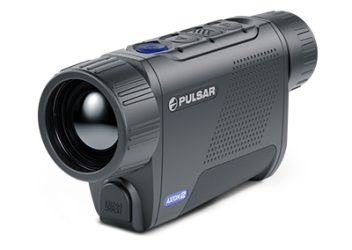 Axion 2
Thermal Imaging Monoculars
New
 Axion XQ30 PRO
Thermal Imaging Monoculars
 Krypton 2
Thermal Imaging Monocular
 Axion XM30F
Thermal Imaging Monoculars
 Pulsar Digex-XS
External Infrared Illuminators
 APS Batteries
Battery Packs
 APS Chargers
Battery Chargers
 IPS Batteries
Battery Packs
 IPS Battery Charger
Battery Charger
 Rifle Mounts
for Pulsar Riflescopes
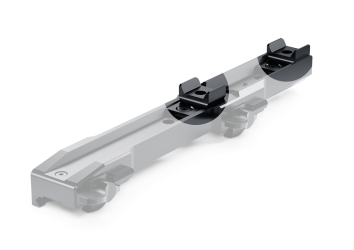 H7 Spacers
Repair Kits
New
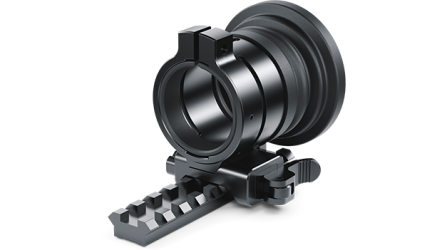 PSP-V Weaver Rail Adapter
Adapter
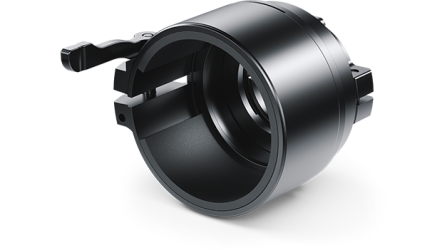 PSP Ring Adapters
Adapters
New
 PSP-B Ring Adapters
Ring Adapters
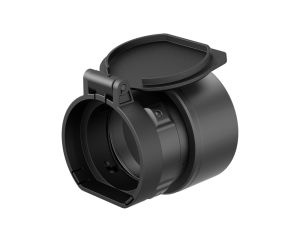 FN Adapters
Cover Ring Adapters
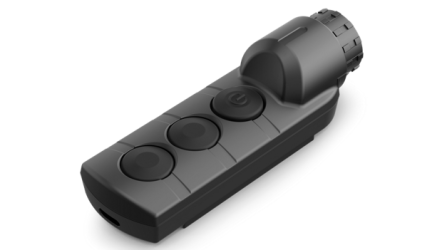 Remote Controls
for digital devices and thermal imagers
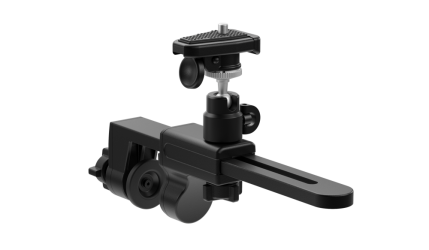 C-Clamp Mount
Pulsar Accessories
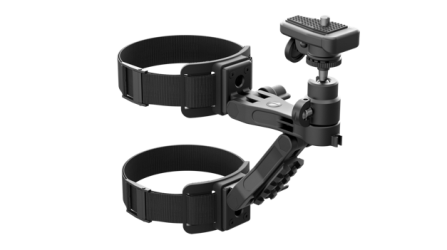 Tree mount
Pulsar Accessories
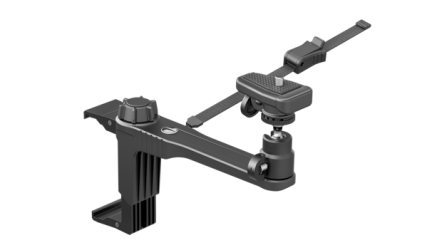 Window Frame Mount
Pulsar Accessories
 Helion Flip-Up Phone Mount
Pulsar Accessories
 Flat Glass Mount
Pulsar Accessories
 Neck Straps
Accessories
New
 Monocular Pulsar 3x20 B
Accessories
 Thermal Zeroing Targets
Accessories
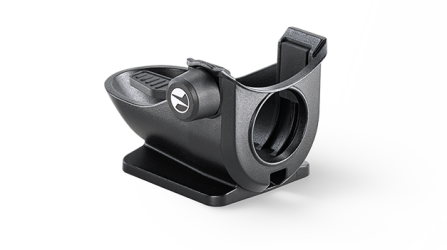 Telos LRF Tripod Adapter
Pulsar Accessories




 English
 German
 French
 Spanish
 Italiano
 English
 Lietuvių


 .
.