-
Productos
Nuevo
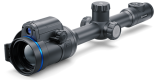
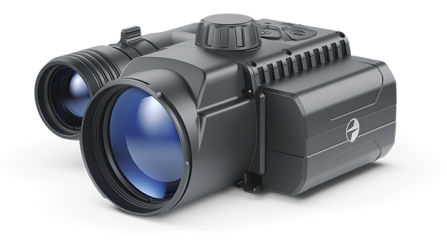
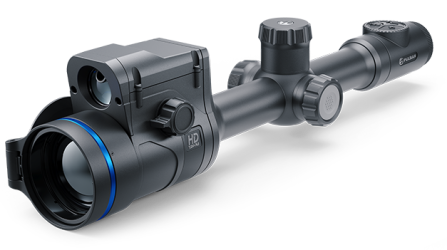 Thermion 2 LRF XL50
Visores térmicos
Thermion 2 LRF XL50
Visores térmicos
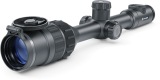
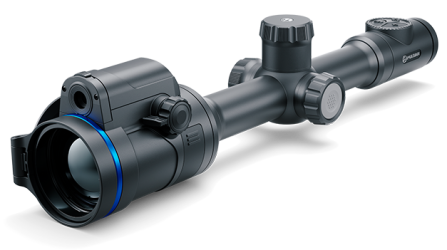
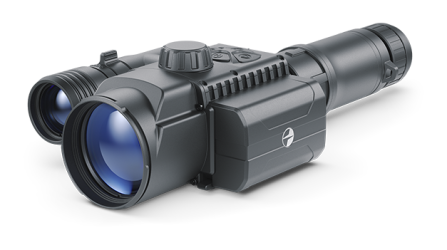
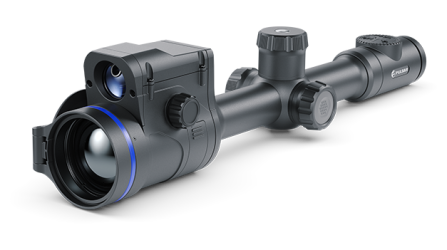 Thermion 2 LRF
Visores térmicos
Thermion 2 LRF
Visores térmicos
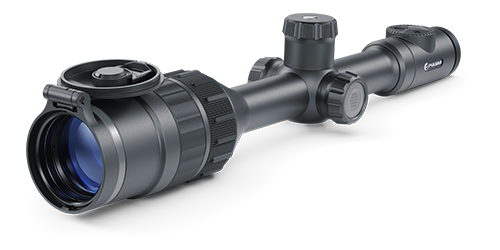
 Thermion 2
Visores térmicos
Thermion 2
Visores térmicos
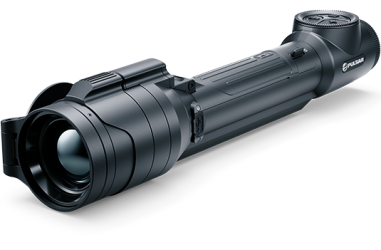 Talion
Visores térmicos
Nuevo
Talion
Visores térmicos
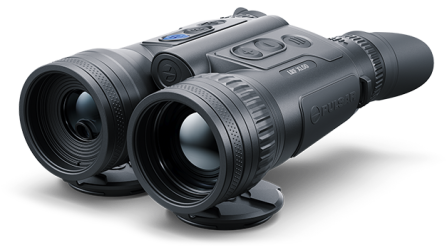
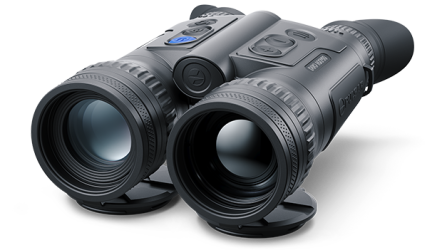
Nuevo Merger LRF XT50
Binoculares térmicos
Merger LRF XT50
Binoculares térmicos
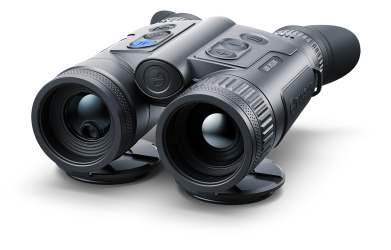
 Merger LRF XL50
Binoculares térmicos
Merger LRF XL50
Binoculares térmicos
 Merger LRF XP50
Binoculares térmicos
Nuevo
Merger LRF XP50
Binoculares térmicos
Nuevo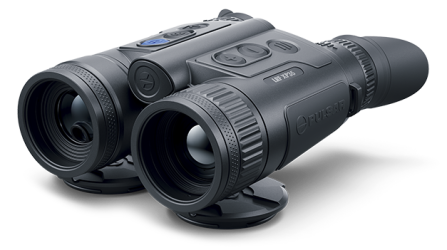 Merger LRF XP35
Binoculares térmicos
Merger LRF XP35
Binoculares térmicos
 Merger LRF XQ35
Binoculares térmicos
Nuevo
Merger LRF XQ35
Binoculares térmicos
Nuevo Telos
Dispositivos térmicos
Nuevo
Telos
Dispositivos térmicos
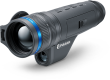
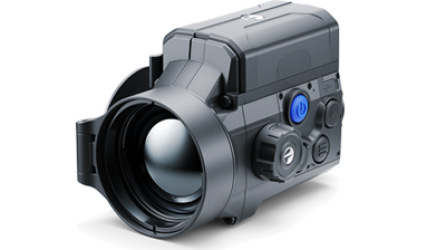
Nuevo Axion Compact
Dispositivos térmicos
Axion Compact
Dispositivos térmicos
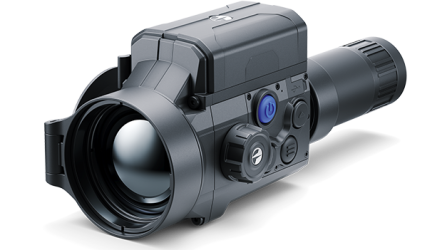
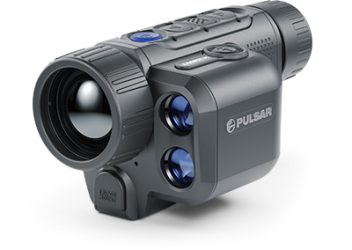 Axion 2 LRF
Dispositivos térmicos
Axion 2 LRF
Dispositivos térmicos
 Axion 2
Dispositivos térmicos
Nuevo
Axion 2
Dispositivos térmicos
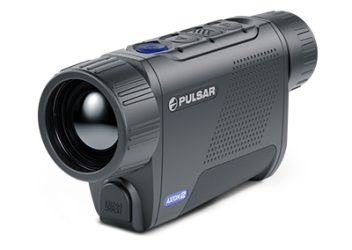
Nuevo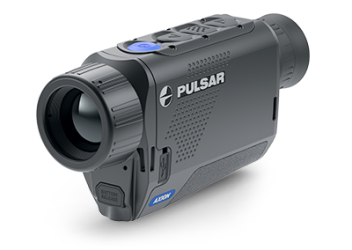 Axion XQ30 PRO
Dispositivos térmicos
Axion XQ30 PRO
Dispositivos térmicos
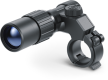
 Krypton 2
Dispositivos térmicos
Krypton 2
Dispositivos térmicos
 Axion XM30F
Dispositivos térmicos
Descontinuado
Axion XM30F
Dispositivos térmicos
Descontinuado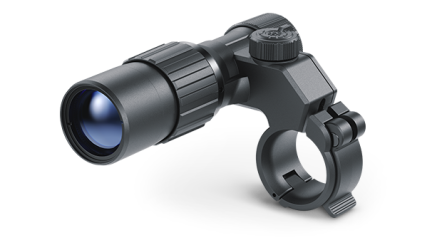 Pulsar Digex-XS
Iluminadores Infrarrojos Externos
Pulsar Digex-XS
Iluminadores Infrarrojos Externos
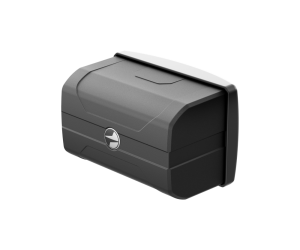
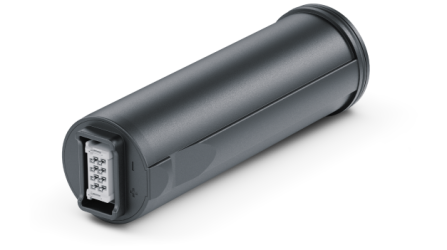 Paquetes de baterías APS
Paquetes de baterías
Paquetes de baterías APS
Paquetes de baterías
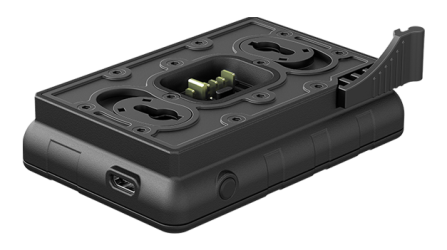
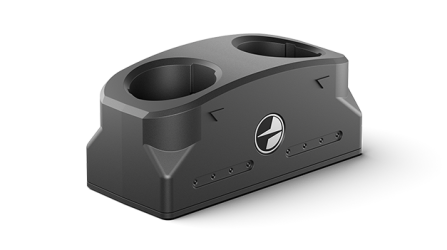 Cargador de batería APS
Cargador de batería
Cargador de batería APS
Cargador de batería
 Paquete de pilas LPS 7i
Paquetes de baterías
Paquete de pilas LPS 7i
Paquetes de baterías
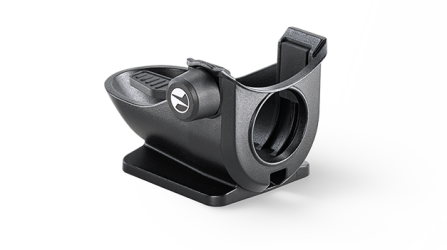 Telos LRF Tripod Adapter
Accesorios Pulsar
Telos LRF Tripod Adapter
Accesorios Pulsar
 Paquetes de baterías IPS
Paquetes de baterías
Paquetes de baterías IPS
Paquetes de baterías
 Cargador de baterías IPS
Cargador de baterías
Cargador de baterías IPS
Cargador de baterías
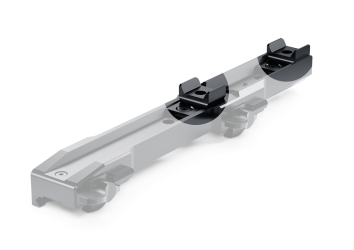
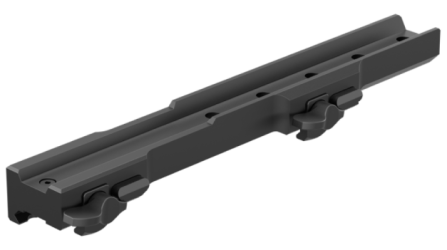 Montajes de fusil
para visores de Pulsar
Montajes de fusil
para visores de Pulsar
 Separadores H7
Kits de reparación
Nuevo
Separadores H7
Kits de reparación
Nuevo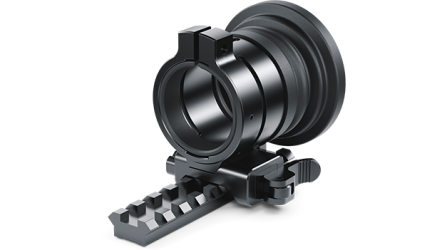 PSP-V Weaver Rail Adapter
Adapter
PSP-V Weaver Rail Adapter
Adapter
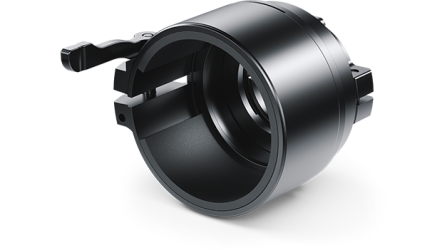 PSP Ring Adapters
Adapters
Nuevo
PSP Ring Adapters
Adapters
Nuevo Adaptadores de anillos PSP-B
Adaptadores de anillos
Adaptadores de anillos PSP-B
Adaptadores de anillos
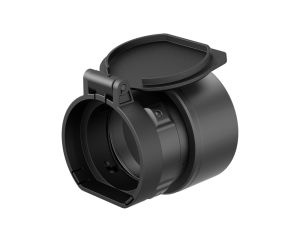 Adaptadores de tapa FN
Adaptadores de tapa
Adaptadores de tapa FN
Adaptadores de tapa
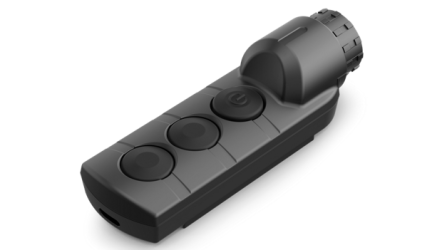 El control remoto inalámbrico
para dispositivos digitales y de imagen térmica
El control remoto inalámbrico
para dispositivos digitales y de imagen térmica
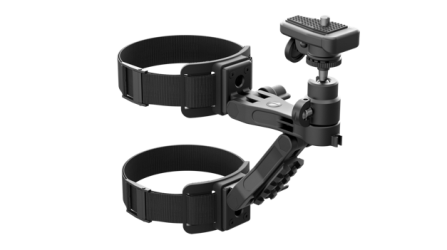 Montaje del árbol
Accesorios Pulsar
Montaje del árbol
Accesorios Pulsar
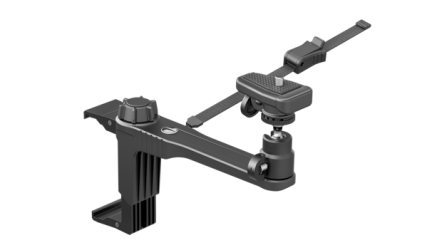 Montaje de marco de ventana
Accesorios Pulsar
Montaje de marco de ventana
Accesorios Pulsar
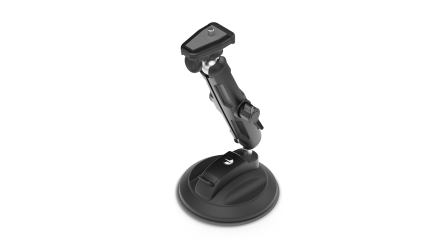 Montaje de vidrio plano
Accesorios Pulsar
Montaje de vidrio plano
Accesorios Pulsar
 Correa para el cuello
Accessorios
Nuevo
Correa para el cuello
Accessorios
Nuevo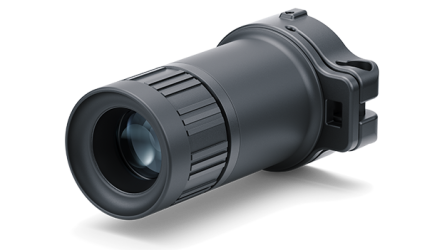 Monocular Pulsar 3x20 B
Accesorios
Monocular Pulsar 3x20 B
Accesorios
 Calibrado de Objetivos Termográficos
Accesorios
Calibrado de Objetivos Termográficos
Accesorios
- Journal
- Noticias
- Soporte
- Dónde comprar
- Acerca de nosotros


 English
 German
 French
 Spanish
 Italiano
 English
 Lietuvių

 que está cargándose con indicación del porcentaje del nivel de carga.
 .
.